Journal · 5 min read
How to Choose a Hands-On Veneer Course
Most dentists pick a veneer course by the before and afters. I would pick it by what you can do on the Tuesday after it ends.
I have been to a lot of CE in my career.
And I have been to a lot of CE that I never implemented.
That is the honest reason Dr. Rhodri Thomas and I built Art of Ceramic. So when a dentist asks me how to choose a hands-on veneer course, mine or anyone else's, I give them the same filter we used to build ours.
The Tuesday test
Here is the only question that matters: what will you do differently on the Tuesday after the course?
If you cannot answer that before you book, the course is entertainment. Beautiful cases on a big screen are inspiring. They are not a workflow.
A good veneer course hands you something you can repeat. A consultation script. A mock-up technique. A prep sequence. A cementation protocol. Steps, in order, with the timing and the materials written down.
In our course every attendee gets a printed book with all of it: the timings, the burs, the material list. I tell the room the same thing every time. When you get back to the clinic and wonder what I said, how many seconds, which bur, it is in there.
I have sat in courses where the answer was "take the next course and we will tell you." That is not education. That is a funnel.
Who is teaching, and do they still do the work
Look at who is standing at the front of the room, then ask whether they are still treating patients.
I treat patients on both coasts, in Los Angeles and New York. Rhodri practices in Wales. The cases we show are our own, and the workflow we teach is the one we used last week.
That matters because dentistry moves. Materials change, scanners replace alginate, and what was fashionable five years ago comes back around. An instructor who has stepped away from the chair teaches what used to work.
There is a second thing I look for. Two instructors who do things differently are worth more than one who does everything perfectly. When Rhodri and I first sat down to put our workflows into one course, we realized much of what we did was similar. Not all of it. You see two ways of doing nearly everything, and you leave knowing which one fits your hands, your patients and your lab.

Hands-on has to mean your hands
Many courses call themselves hands-on because there is a typodont at the back of the room.
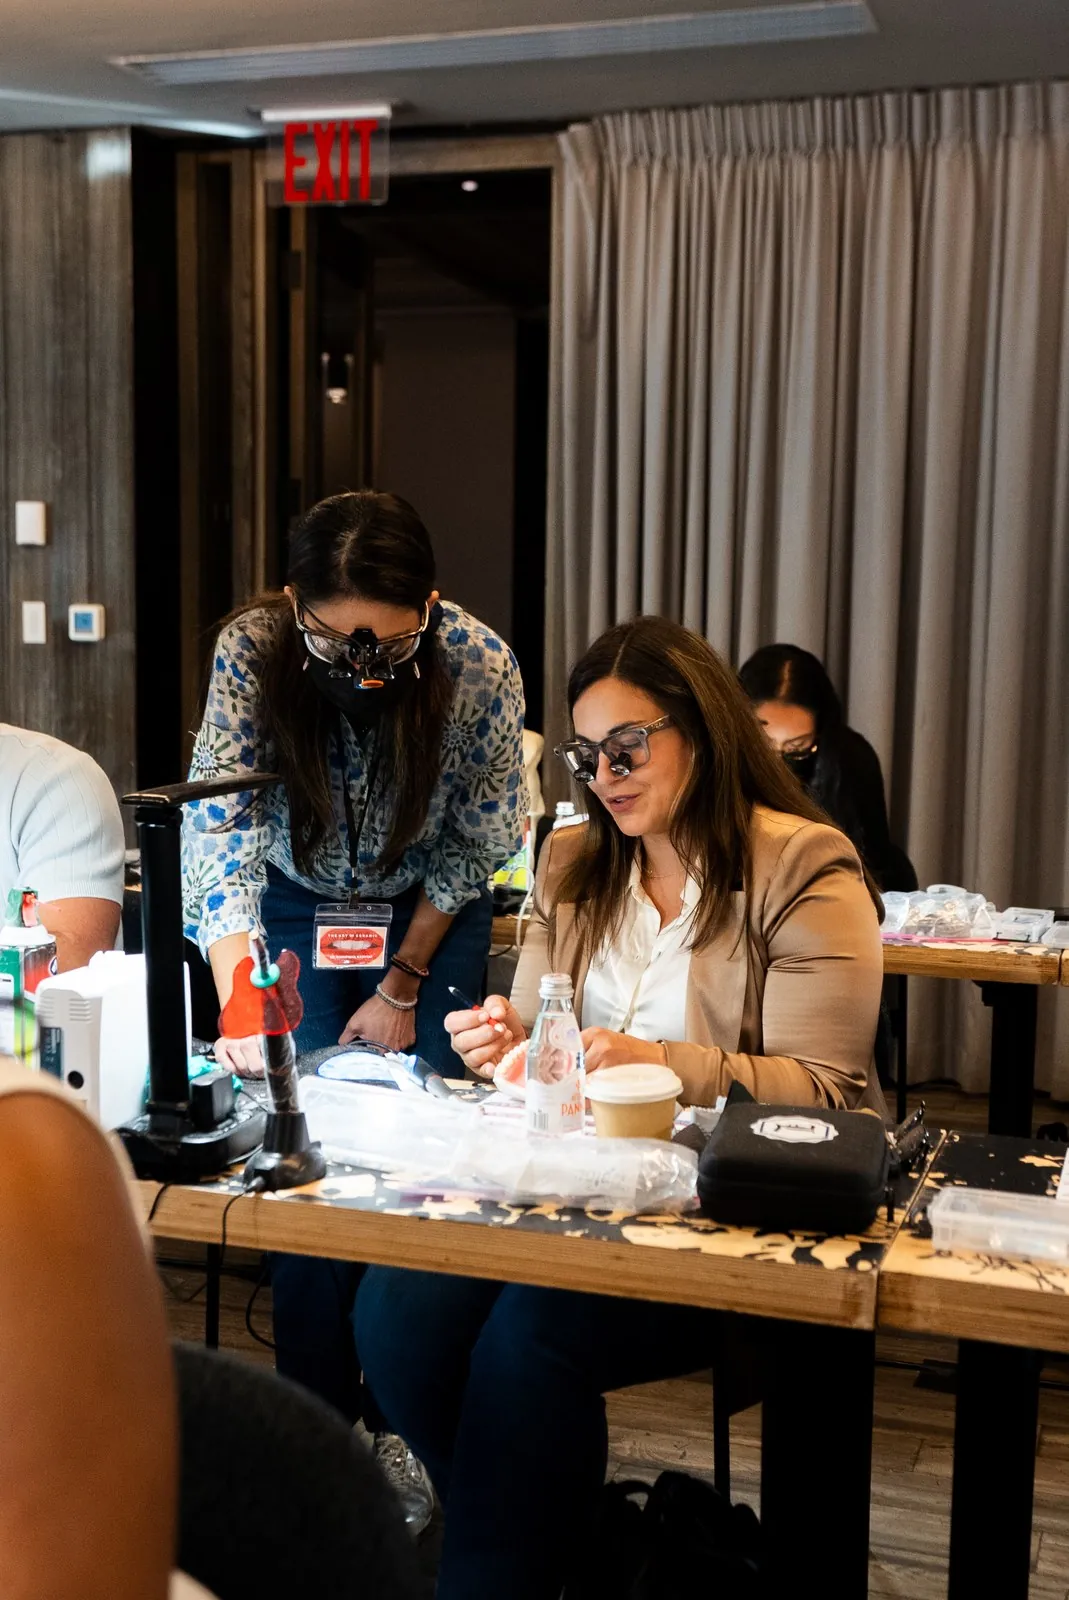
Hands-on means you do the step yourself, right after you watch it, with someone looking over your shoulder.
You should not go into a patient's mouth and have it be the first time you have done something. Print the model. Prep the model. Make your mistakes on plastic.
On the second day of our course we work on a case where the teeth are crowded and rotated, and before anyone touches a single prep, we develop the arch. Mark the ideal arch. Mark everything outside it. Reduce what is outside before you add. Once the teeth are aligned in the arch, the individual veneer preps become simple.
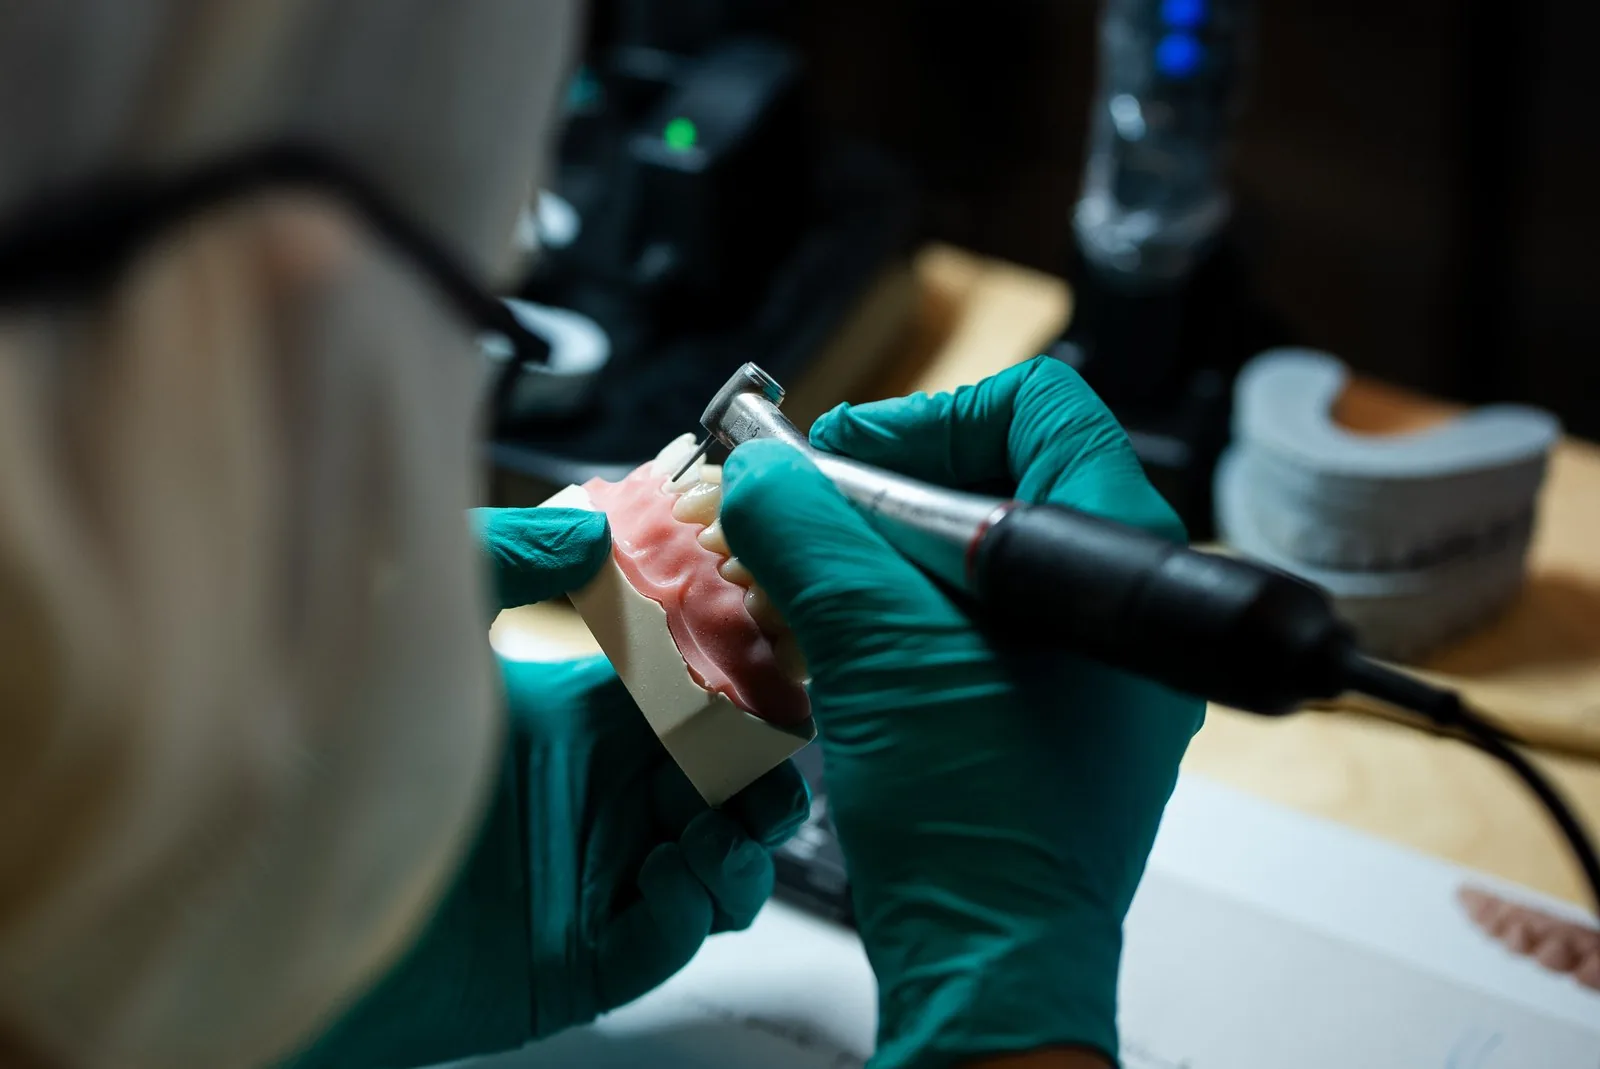
That is the one takeaway I want every dentist to leave with, and you cannot learn it from a slide. You learn it with a bur in your hand and your thumb and index finger on the model, feeling where the arch is wrong.
Ask how many minutes of the day you will spend at your own bench. Then ask how many instructors are walking the room while you do it.
Does it teach the whole chain
A veneer is the last thing you place. Everything that makes it look natural happens before it.
So a veneer course that only teaches preparation is teaching a fraction of the case. Look at the agenda and check that it covers the full chain:
- The consultation and how you present the plan
- Facial analysis, because cosmetic dentistry is a full face, not a smile close-up
- The mock-up, so the patient sees it and you know where you need to prep
- Prep design
- Shape
- Temporization
- Photography and lab communication
- Cementation
If one of these is missing, you will feel it in the chair.
I tell dentists that dentistry fails a lot of patients because we look at a single problem and try to be heroes. A course that teaches you a single problem in isolation trains exactly that habit.
Follow the money
This one is uncomfortable, so most people skip it. Ask who sponsored the course.
We do not accept sponsorship for Art of Ceramic. When we taught in March, the only thing a partner paid for was the practice models on the benches.
The reason is simple. I do not want anything clouding the data. I want to tell you exactly what I use, exactly why I use it, and the exact brands I use, because that is what I use in my own practice.
When a product company pays for the room, it is fair to wonder whose protocol you are learning.
What happens after the weekend
The course should not end when you walk out of the room.
Ask what you take home and who you can call. In our March course I gave attendees a photography lecture to keep and rewatch with their teams, and told them to send me photos of their practice preps for feedback. I always say maybe five people in the room will take me up on it. Be one of the five.
The community matters too. Dentistry can be a lonely career. A room of colleagues who think about teeth the way you do is part of what you are paying for.
A short checklist
Before you book any hands-on veneer course, get a clear yes to each of these:
- Instructors still treat patients, and show their own cases.
- You work at your own bench after every major section, with instructors coaching at every seat.
- The agenda covers consult to cementation, not prep alone.
- Protocols are written down so you can repeat them on Tuesday.
- Sponsorship is disclosed, or there is none.
- There is support after the course, from the instructors or the alumni around you.
- CE credits come from a recognized provider, such as an AGD PACE approved program.
Know your instructors. Know your hands. Know what you will do on Tuesday. Then book.
Related reading: feldspathic veneers on refractory dies and what a hands-on porcelain course should cover.
Questions, answered.
What should a hands-on veneer course for dentists include?
The full cosmetic chain: consultation, facial analysis, mock-up, prep design, shape, temporization, photography, lab communication and cementation. Each step should be demonstrated and then practiced at your own bench with instructors coaching.
Is a veneer course worth it for an associate?
Yes, if it gives you a repeatable workflow. As an associate you are your own business inside a bigger one, and a consultation and veneer workflow you can run on your own patients is how you build that business.
How long is a good hands-on veneer course?
Long enough to practice every step, not just watch it. Art of Ceramic runs two full days, with guided bench work after each major section and 16 CE credits.
What should I bring to a hands-on veneer course?
Your loupes. You will want them for the bench sections. Most courses supply models and materials; confirm before you travel.