Journal · 5 min read
Clinical Dental Photography: The Settings and Setup I Use
I take about 400 photos a day. These are the settings, the kit and the habits behind them, the same ones I teach in Art of Ceramic.
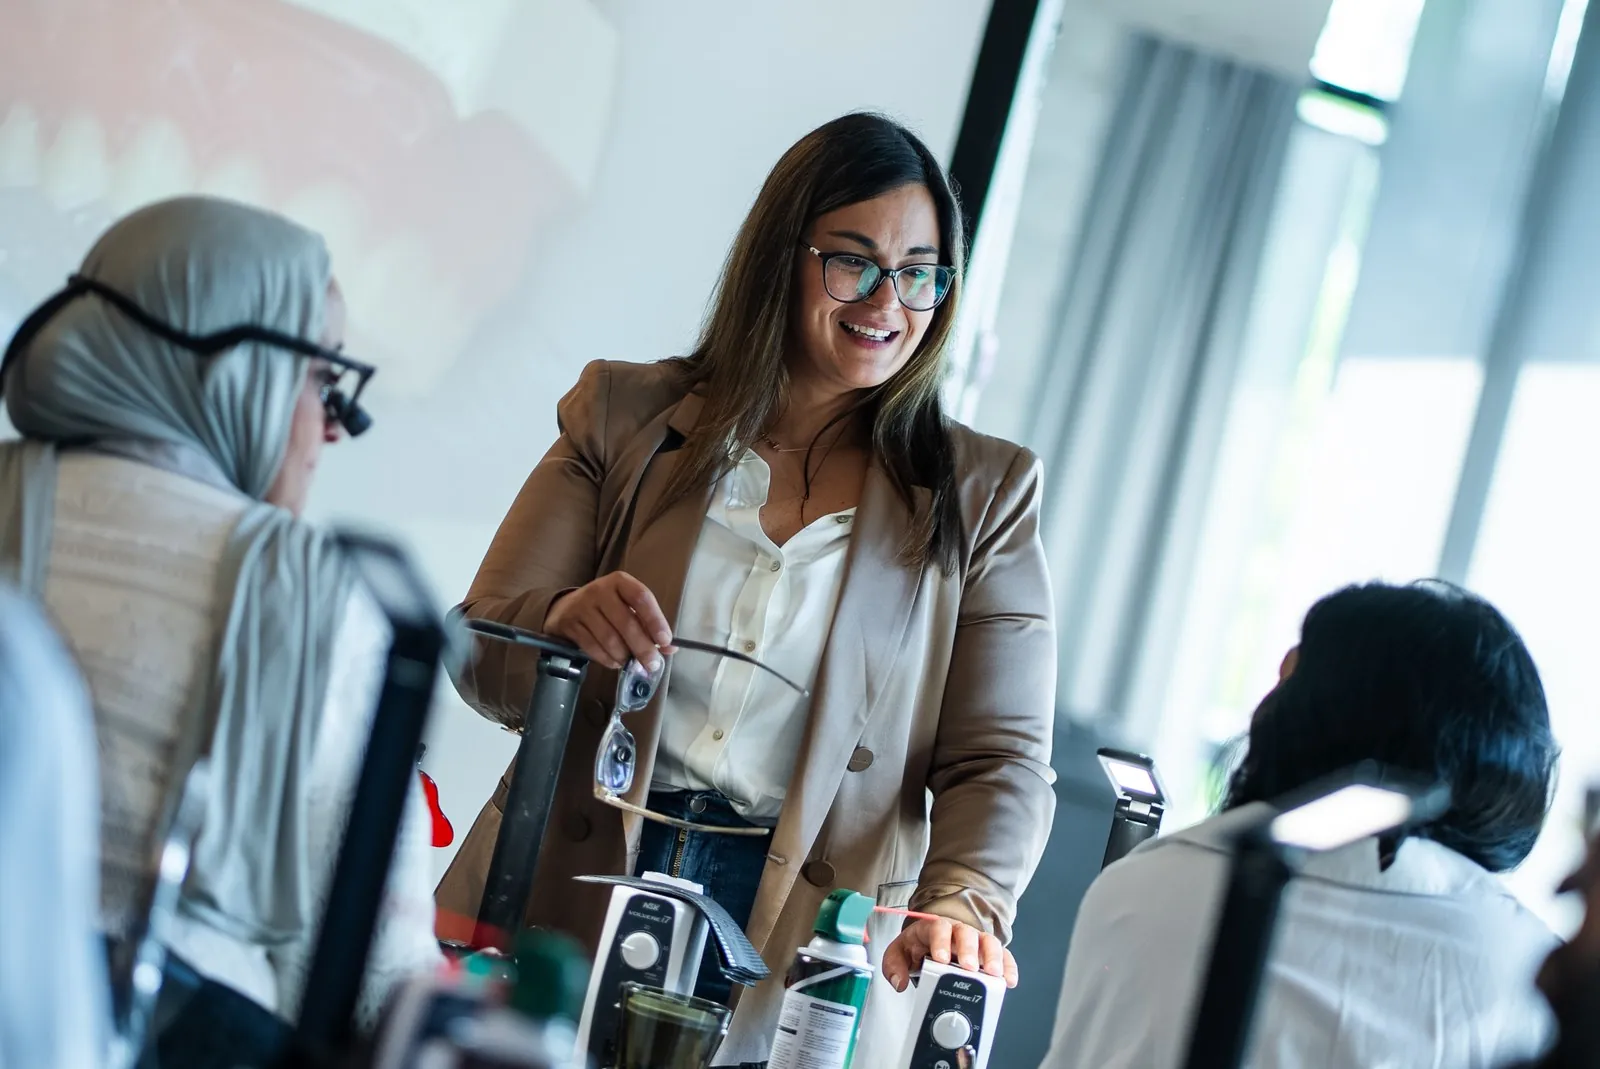
I take about 400 photos a day.
That number surprises dentists. It should not. Photography is not something I do for Instagram at the end of a case. It is how I plan, how I talk to my lab, and how I find out what I did wrong.
This is the setup and the settings I use, and what I teach on the first day of Art of Ceramic.
Why photograph everything
When I was a younger dentist I would take photos and models to my mentors and ask them to help me treatment plan. That habit never left. Photographs let me ask my ceramist the right question: how would you deal with this, and what material is best?
They also teach you about your own dentistry. When I joined my practice, it had decades of photographs: before, the preparations, the temporaries, year one, year five, year ten, year twenty. You see what lasts, and you see what did not. No course can teach you that as well as your own archive.
And then there is color. "Please make me veneer number eight, A2" is not a prescription. We have to communicate color, and color lives in photographs.
My kit
I shoot a Nikon Z7 II with a Nikon Z-mount macro lens and the Nikon R1C1 wireless twin flash system.
You do not need my exact kit. You need the right type of kit:
- A fixed macro lens. A fixed focal length lets you standardize: same distance, same framing, every patient. Zoom lenses add distortion and variability. A focal length close to the classic 100 macro is comfortable for intraoral work; much shorter puts you uncomfortably close to the patient.
- Invest in the lens first. A good lens outlives several camera bodies. Start with a sensible body and put the budget into the lens and the light.
- A twin flash, not a ring flash. A ring flash throws light straight down the lens. It is useful for surgery and posterior work, but it flattens the anterior teeth and washes out texture. Two flashes positioned to the sides capture texture, translucency, opacity and depth. Rhodri and I both use twin flash setups. His advice on ring flashes for cosmetic work is to put them in the bin.
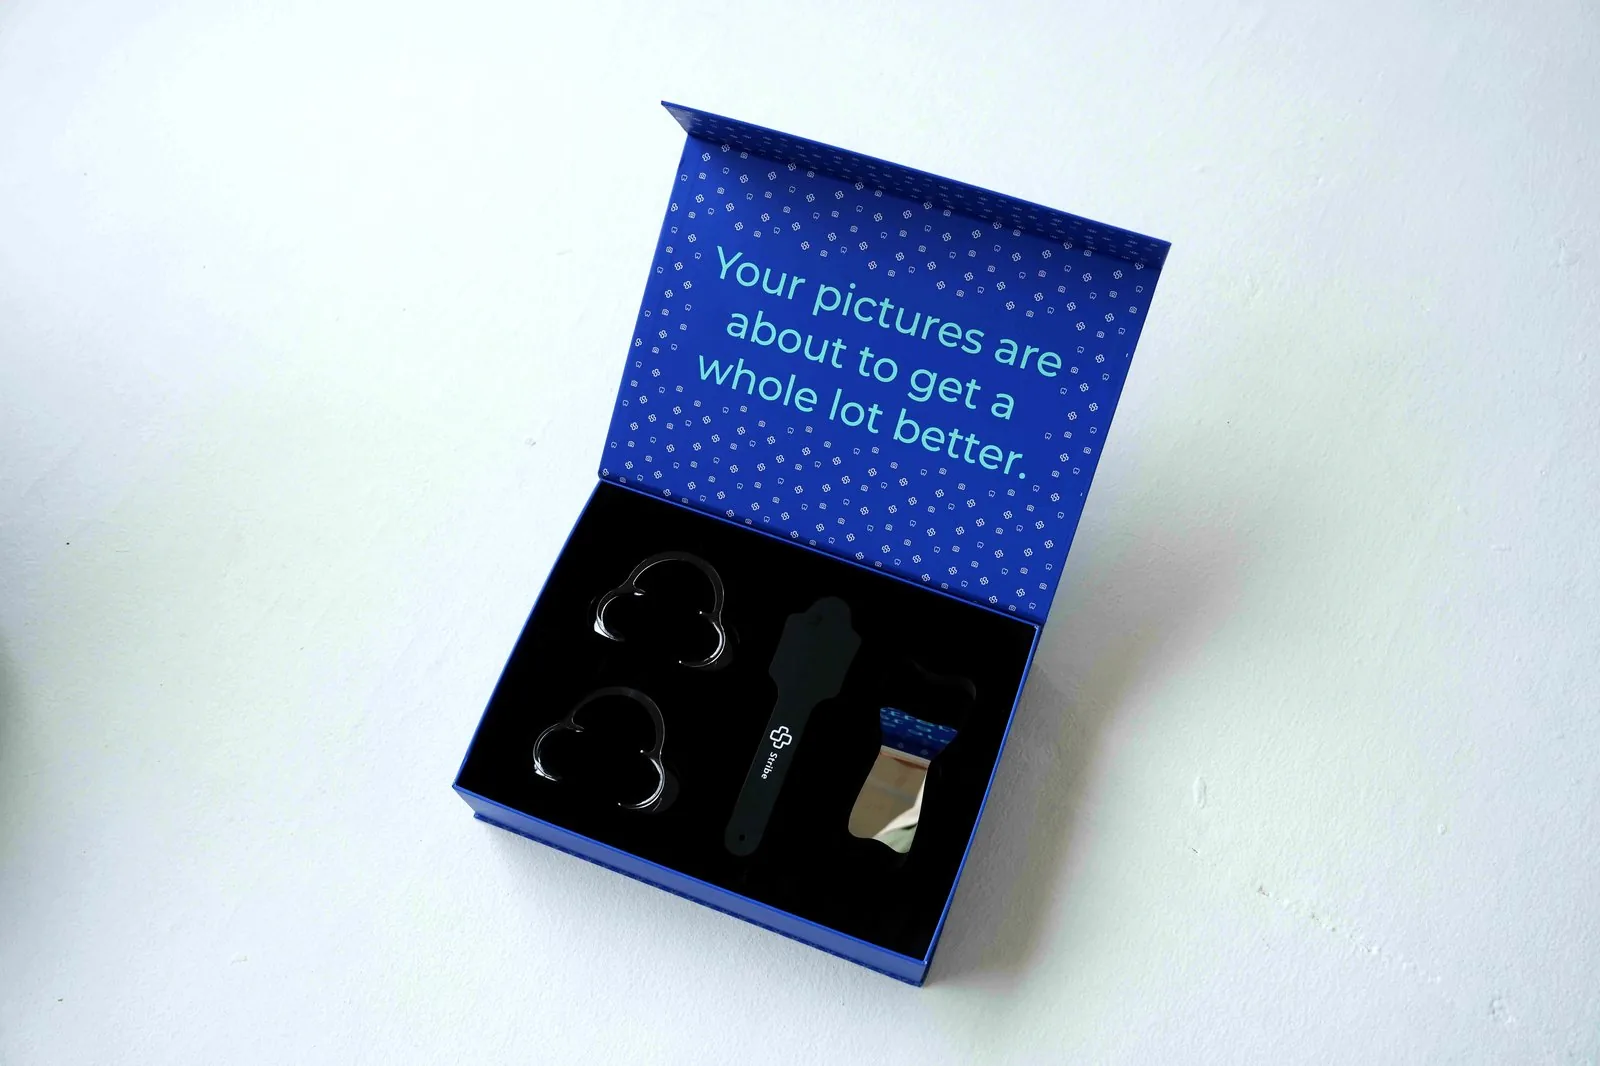
When I wrote my photography paper in 2020, mirrorless cameras were still catching up for dental use. I shoot mirrorless now. Either system works if the lens and light are right.
The settings
These are the settings on my course slides:
| Shot | f-stop | Shutter | ISO |
|---|---|---|---|
| Full face | f/8 to f/11 | 1/200 s | 200 |
| Smile and intraoral | f/22 to f/28 | 1/200 s | 200 |
Shutter and ISO stay fixed. The aperture does the work.
For a full face you stand far from the patient, so the flash is far away too. You open up to f/8 or f/11 to let in enough light.
When you move in for smiles, retracted views and close-ups, the flash is right at the teeth. You close down to f/22 to f/28. The small aperture gives you a deep depth of field, so the whole arch is sharp, not just the centrals. The flash supplies the light, so you never need to push the ISO.
Rhodri lands almost exactly where I do: 1/200, around f/20 and up, ISO 200. When two clinicians on different continents arrive at the same numbers, it tells you how standard this should be.
Ratio and distance
Most macro lenses have a magnification ratio on the barrel. Use it.
Set the ratio for the shot, then move your body in and out until the image is sharp. Do not touch the focus ring. That is how a before and an after line up without guesswork. In my paper I used 1:10 for a full face on a full-frame sensor, 1:2 for smiles and retracted views, and 1:1 for a close sextant. On a crop sensor the ratios shift, so you stand a little farther back.
The series I take
The American Academy of Cosmetic Dentistry recommends a standard set of views before any treatment, and I follow it: full face, smile, lateral smiles, retracted views and occlusals.
Two habits from my own practice:
- I do not take the occlusal photos at the first consultation. They take more stretching and more coordination with my assistant. Once the patient says yes, I take them.
- Make the patient laugh before you pick up the camera. A self-conscious patient hides their gums and gives you a smaller smile than the one they really have. You only get one chance at a before photo.
Shade photos
Beyond the standard series, I take two shade photographs.
The first is retracted, slightly open, with three shade tabs held in the same plane as the teeth: my best match, one slightly brighter and one slightly darker. The second is the same shot slightly underexposed, so the ceramist can read the translucency.
Give the lab too much information, never too little.
For single centrals, Rhodri likes cross-polarized photography, which removes the surface glare and shows the color underneath. Whatever you do, skip softboxes for shade. They blur the detail and throw the color off.
The mistakes I see most
- Overexposure. A dark photo can be brightened. A blown-out white photo has lost its information for good.
- The wrong angle. You cannot fix it afterward. Check the height of the patient and the angle of the camera before every shot, and move the patient if you need to.
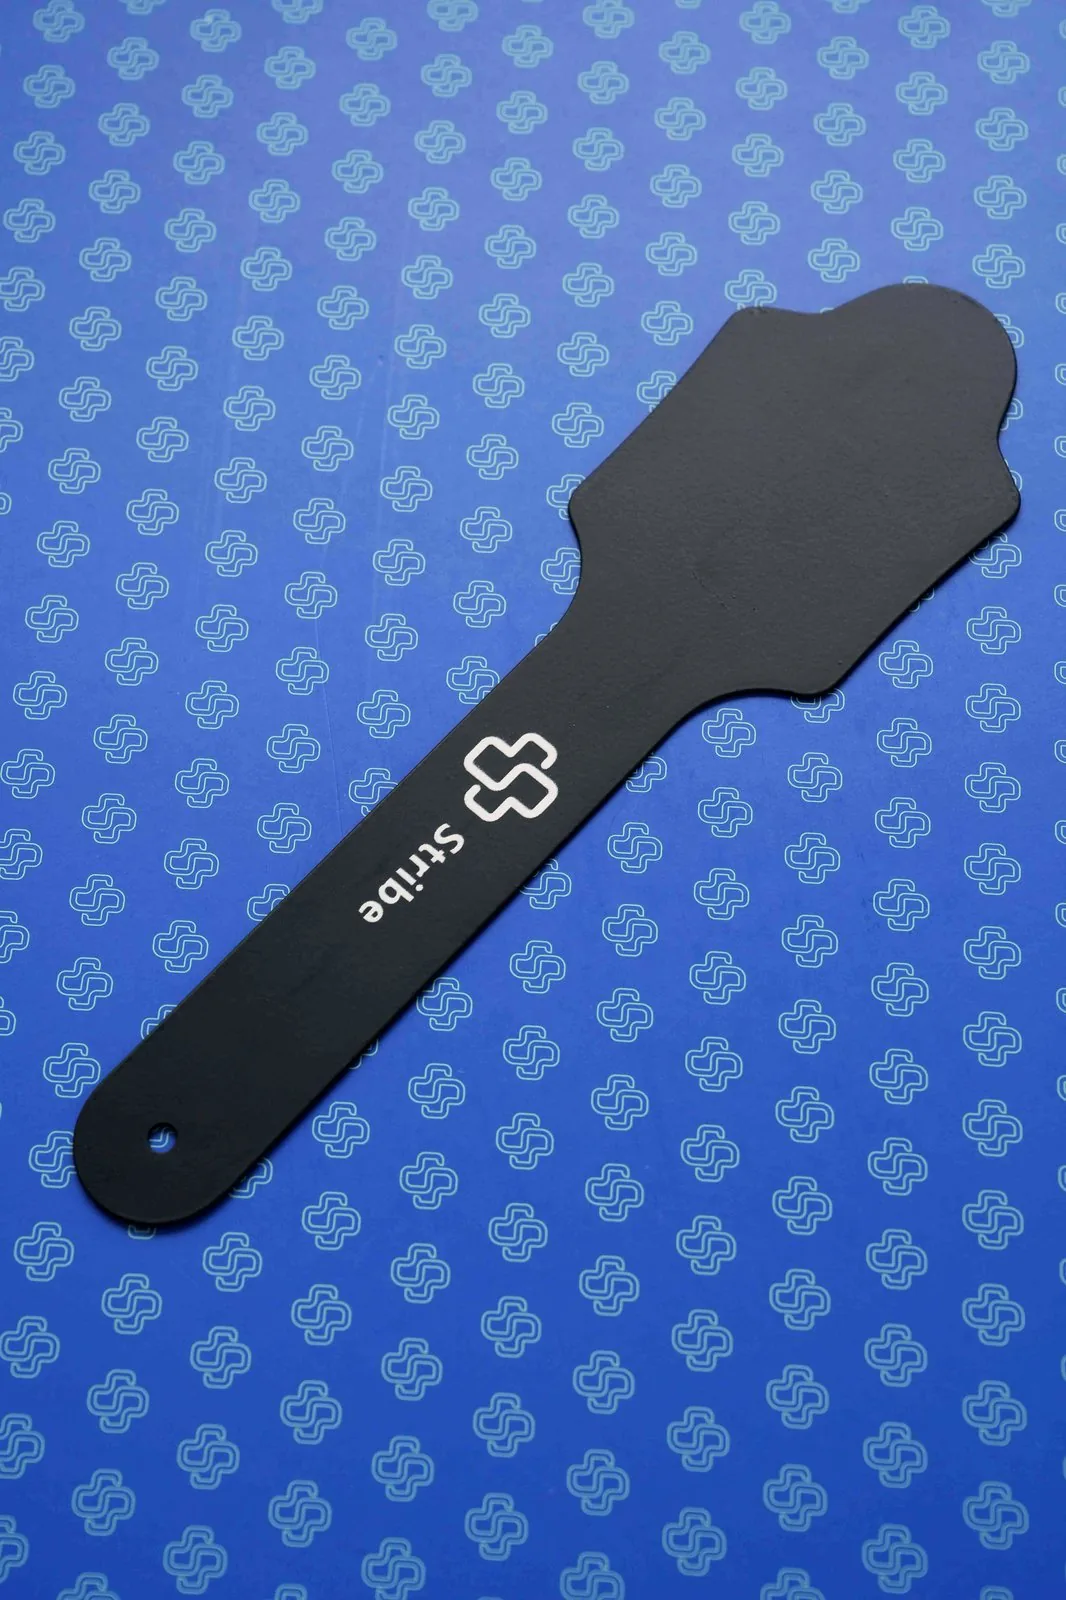
- Badly sized retractors. Lips curl over them and shadows creep into the back of the mouth. Pick the right size and keep them out of frame where you can.
Start tomorrow. Set the ratio, fix the shutter and ISO, and take the full series on your next three consultations. You will learn more from those photos than from most courses.
Related reading: smile design photography and shade matching porcelain veneers.
Questions, answered.
What are the best camera settings for dental photography?
The settings I teach are f/8 to f/11 for full face, f/22 to f/28 for smiles and intraoral views, with the shutter at 1/200 s and ISO at 200. Keep shutter and ISO fixed and change exposure with the aperture.
Should I use a ring flash or a twin flash for dental photos?
For cosmetic and anterior work, a twin flash. It captures texture, translucency and shade information that a ring flash flattens. A ring flash is still useful for surgical and posterior documentation.
What lens do I need for dental photography?
A fixed macro lens near the classic 100 focal length. Fixed lenses standardize distance and framing, so before and after photos match.
Is dental photography taught in Art of Ceramic?
Yes. Photography and lab communication are part of the Art of Ceramic workflow, alongside consultation, mock-up, prep design, temporization and cementation.