Journal · 4 min read
Smile Design Photography: The Photos That Make the Plan
The first photographs you take are not for your records. They are for the patient, on a screen, while you are still in the room.
Photographs have always been part of cosmetic dentistry.
A few years ago our office had a fire, and in the clean-up we found a box of Polaroids from one of the doctors who practiced there before me. He took Polaroids at the consultation and drew the smile design right on them. Facial analysis, the temporaries, how the changes were communicated, all on a Polaroid with a pen.
The tools changed. The idea did not. Smile design starts with a photograph of a face.
The three photos on the screen
In our consultations there is a screen next to the chair. While we take the X-rays and scans, three photographs are up on it the whole time:
- A full face photo of the patient smiling.
- A close-up smile photo.
- A retracted photo with the teeth slightly parted, so I can see the lower teeth too.
Why on a screen? Because we want patients to diagnose themselves before I even walk in. They look at their own smile and start asking what they are seeing.
Rhodri tells the same story from Wales. A patient comes in wanting to change two teeth. He puts a macro shot up on the TV and she says, everything is yellow. Then the conversation is about the whole smile.
Start with the face
We open every Art of Ceramic course with full face photographs, because cosmetic dentistry is not a smile close-up. It is a face. A person living their life.
The full face photo is where you see the facial midline, the interpupillary line, a cant, the facial thirds. You cannot design a smile without it.
And before you shoot, make the patient laugh. A self-conscious patient hides their gums and gives you a smaller smile than the one they really have. You only get one chance at a before photo.
The mock-up photo
The second set of photographs comes after the mock-up.
I mock up the smile directly in composite, then take a full face photograph. It goes up on the screen right next to the initial photo. Initial and mock-up, side by side.
And then I stop talking. I always say the first person to talk loses.
Their first reaction to that photograph tells you almost everything you need to know. If the change looks wildly transformative to you and they do not see it, that is going to be a tough patient. If they light up, you have your answer.
Records for planning
Once the patient says yes, I take the rest: the occlusal photographs, which need more stretching and coordination with my assistant, and the full series for the lab.
I also photograph the temporaries. The ceramist does not see the person. Measurements, models of the temporaries, photographs of the temporaries and scans of the temporaries are how they bring the design to life.
The kit
The camera matters, but the accessories decide whether the photographs are usable:
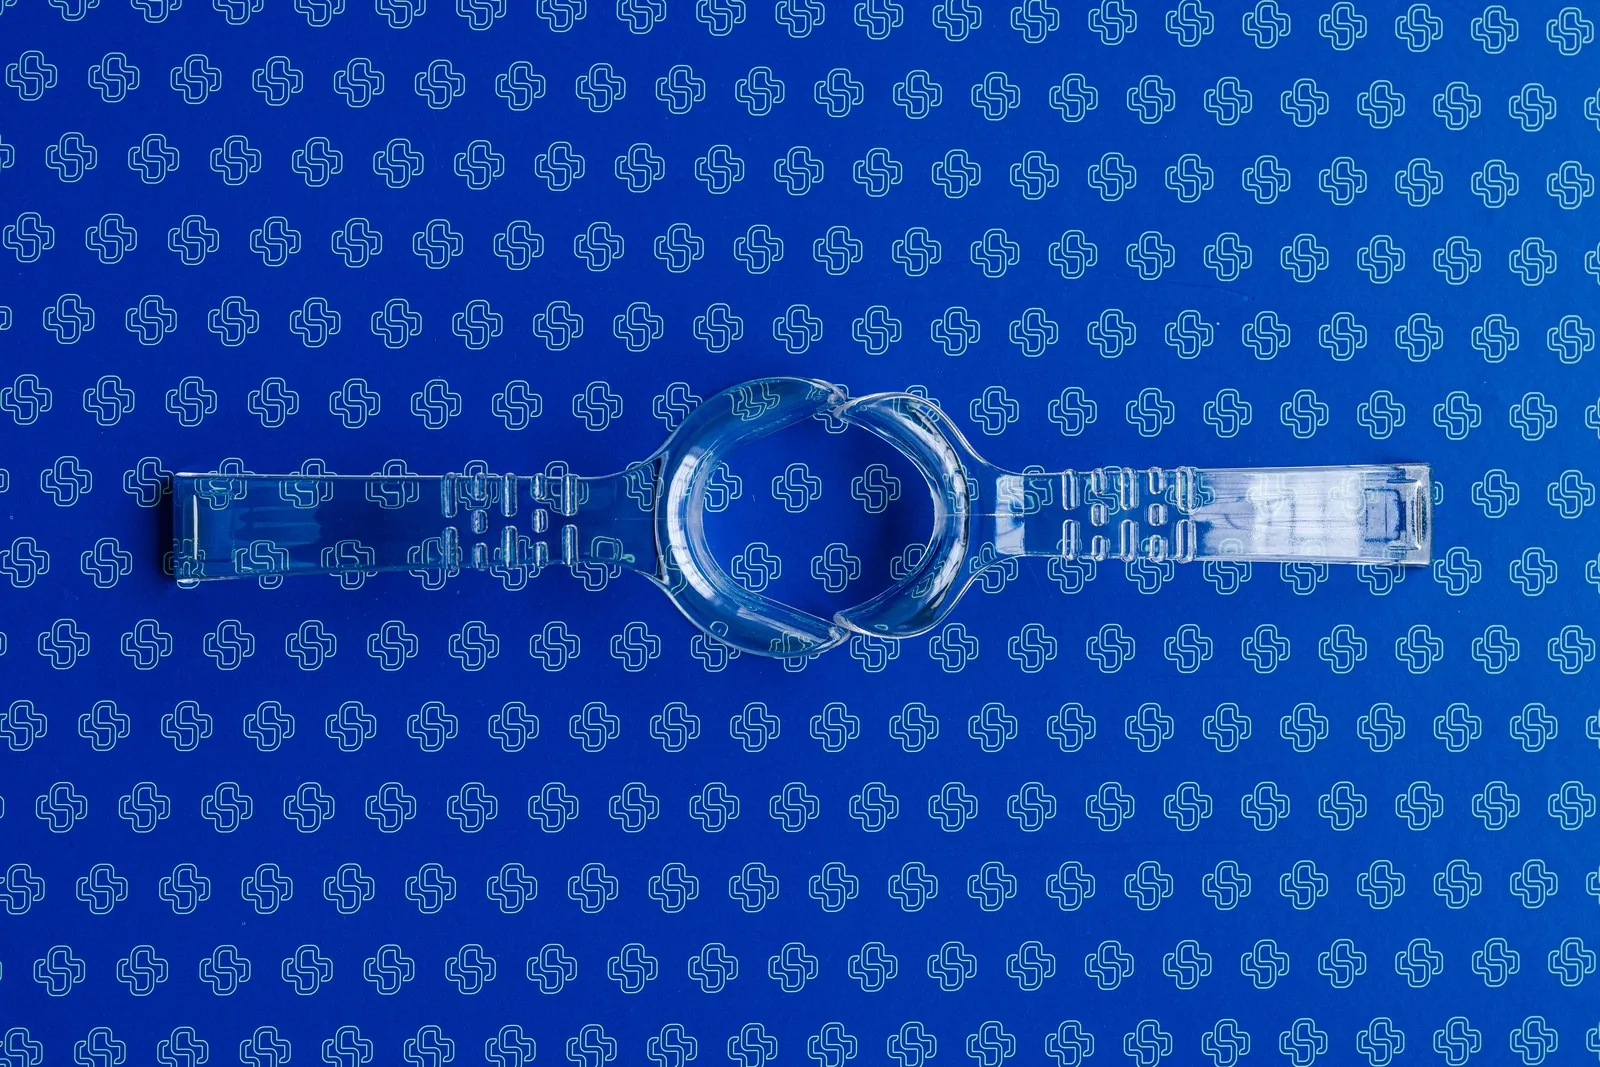
- Clear lip retractors in more than one size. Wrong-sized retractors curl the lips and put shadows in the back of the mouth.
- A black contraster behind the anterior teeth, to isolate the incisal edges and translucency.
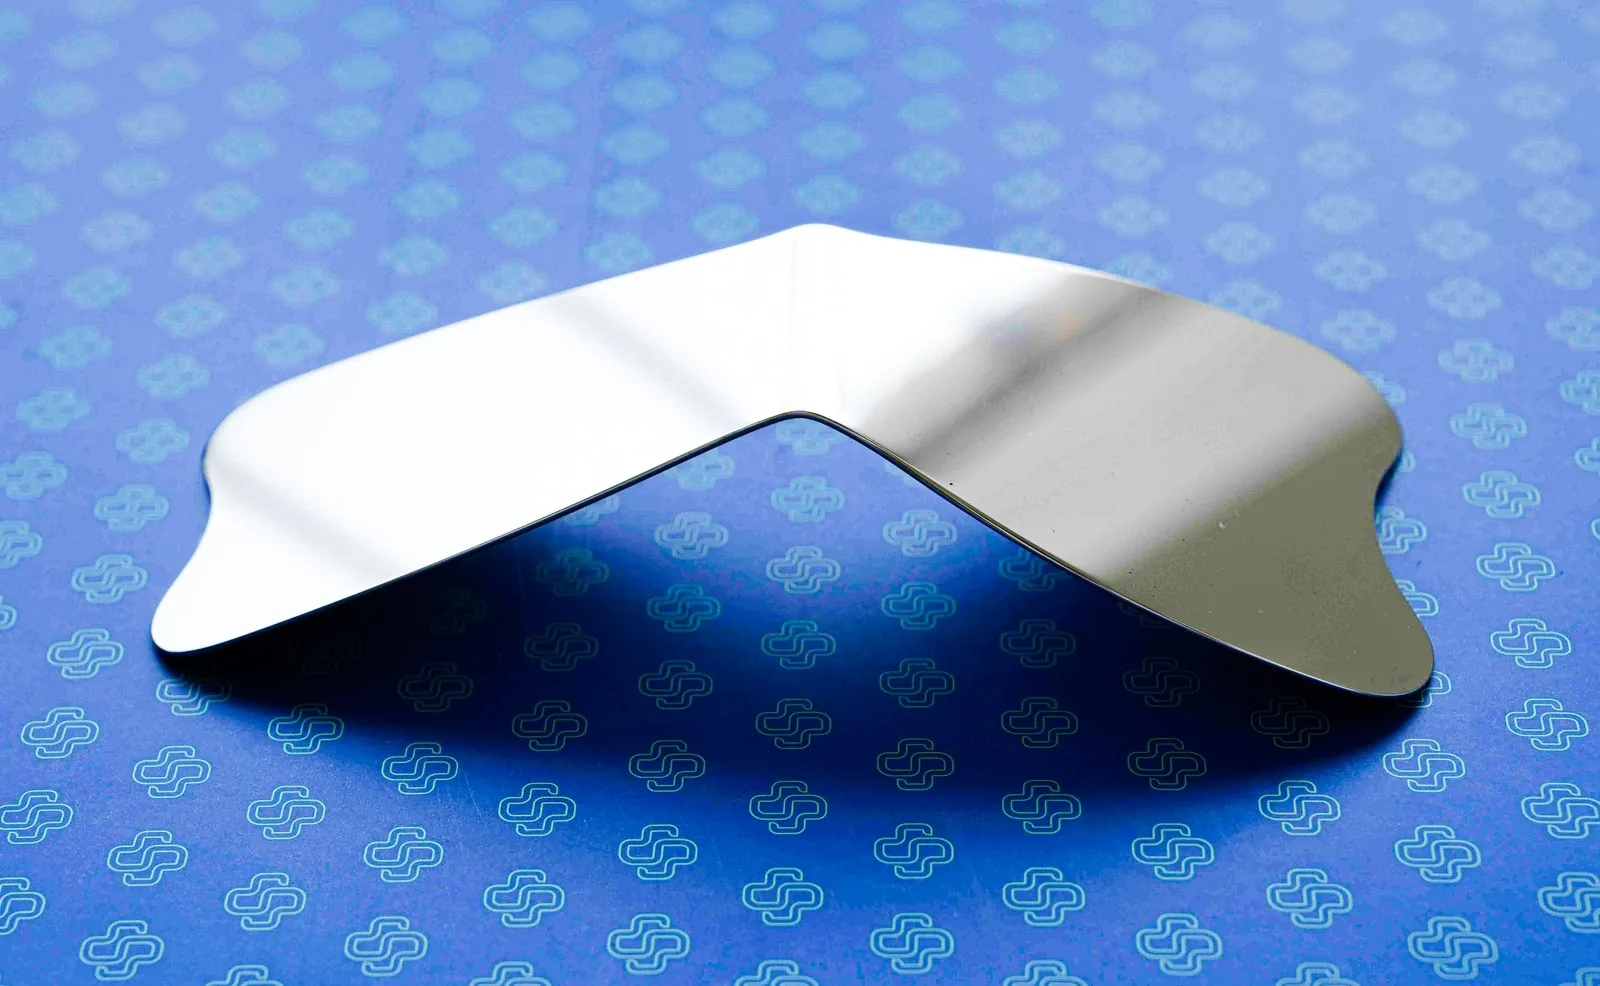
- An occlusal mirror for the occlusal views.
- A twin flash, so you capture texture and translucency rather than flattening the teeth.
Settings I use
Full face at f/8 to f/11. Smiles and intraoral views at f/22 to f/28. Shutter at 1/200 s and ISO 200, both fixed. I cover the full setup in my dental photography article.
Photographs for the whole team
Photographs are how you talk to everyone who touches the case, not just the lab.
How many dentists have a periodontist in the building? Most do not. So how are you communicating a crown lengthening? A note that says "crown lengthening, four to thirteen" is not enough.
Take a photograph. Calibrate the image. Draw what you want on it. Every one of those steps improves the final result, because the specialist sees the same face you are designing for.
And keep everything. I take about 400 photos a day. When I joined my practice, it had decades of photographs of cases at every stage. That archive teaches you what lasts.
Before and after, the same way
Consistency is what makes a before and after honest. Same ratio on the lens, same distance, same lighting, same framing of the face.
Set the ratio, move your body in and out until it is sharp, and do not touch the zoom. Then your after photo lines up with your before without guesswork, and the patient sees the change, not a change in camera angle.
The takeaway
- Put the patient's photographs on a screen during records.
- Start with the full face, smiling, after you make them laugh.
- Photograph the mock-up and show it beside the initial photo.
- Then stay quiet and watch the reaction.
- Photograph the temporaries for the lab.
Related reading: my camera settings and setup and facial analysis for smile design.
Questions, answered.
What photos are needed for smile design?
At minimum, a full face smiling photo, a close-up smile photo and a retracted view with the teeth slightly parted. Add the full standard series and occlusal views once the patient accepts treatment.
Why show patients their photos during the consultation?
Patients who see their own smile on a screen often identify what they want to change themselves, which makes the treatment conversation more collaborative.
What equipment do I need for smile design photography?
A camera with a fixed macro lens, a twin flash, properly sized lip retractors, a black contraster and an occlusal mirror.
When should occlusal photos be taken?
They are harder to capture and need more coordination, so many clinicians, including Dr. Andi, take them once the patient has accepted treatment.