Journal · 4 min read
Veneer Cementation: The Details That Decide the Result
Cementation is the last ten minutes of a case and the first thing that shows up when it fails. Treat it like craftsmanship.
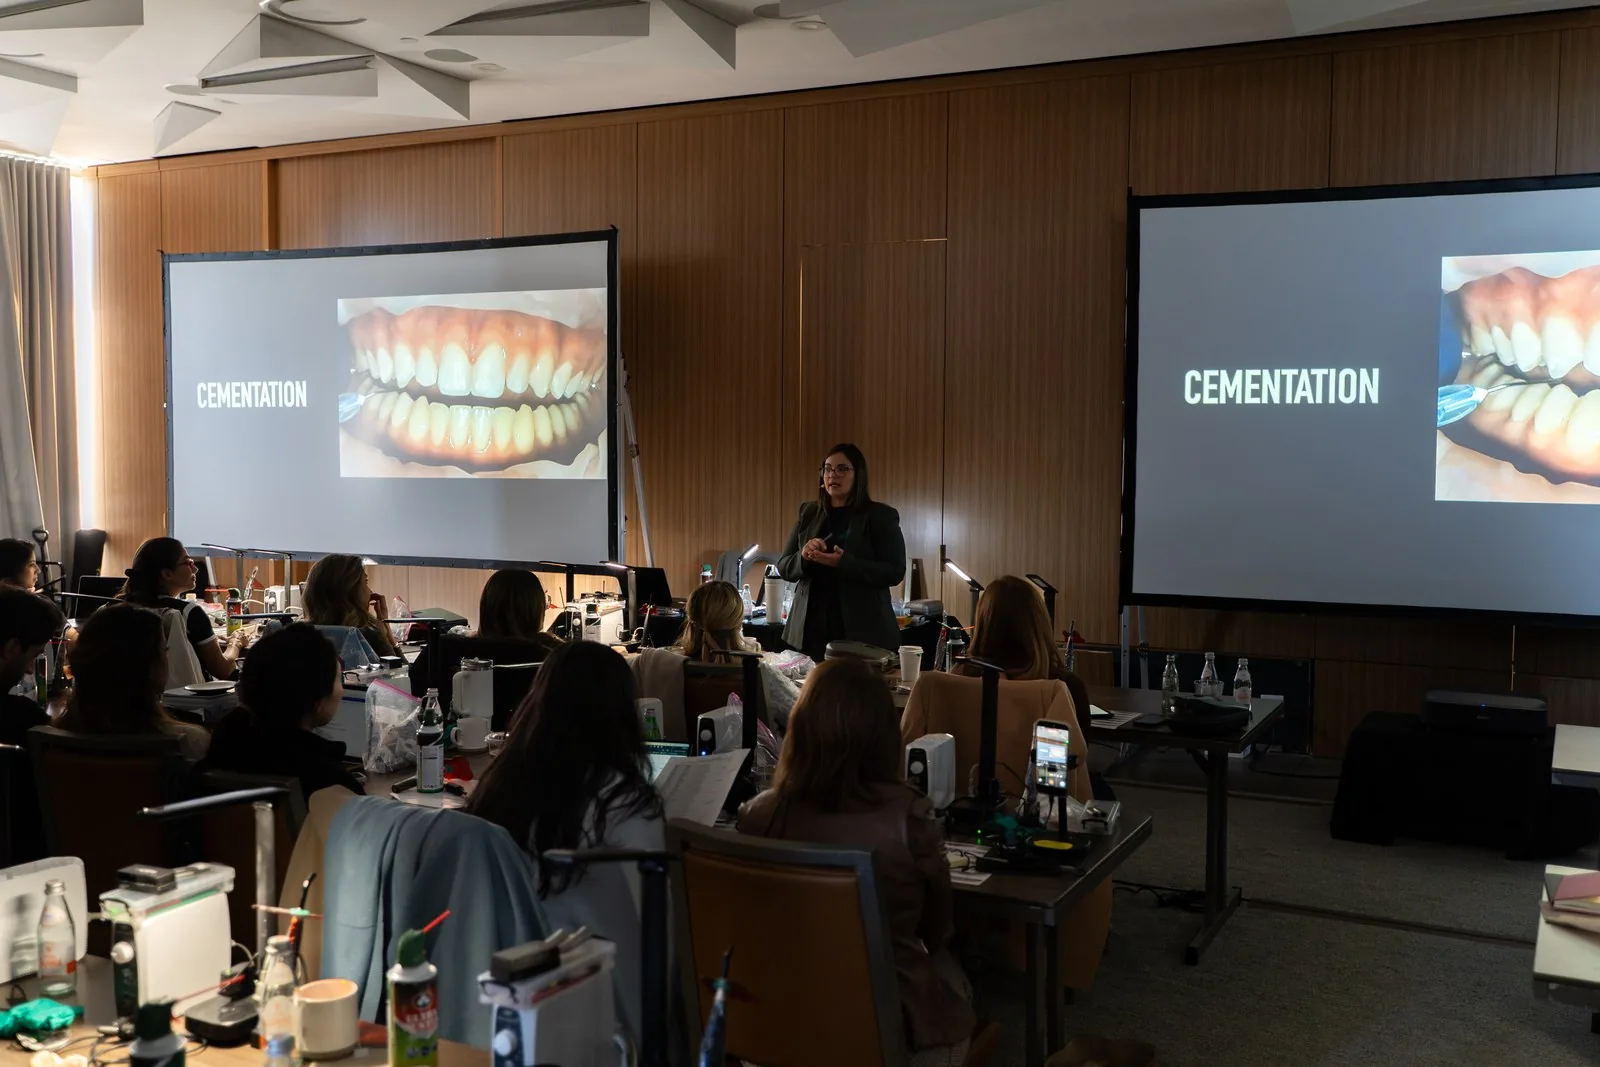
Rhodri talks about craftsmanship a lot. The way we prepare the tooth, hide the elbow joints of the margins, move the brushes so everything is crisp and clean. He includes cementation in that list.
The way you cement it is craftsmanship too.
Here is what I want dentists to think about at the end of a veneer case, when everyone is tired and the porcelain finally looks good.
Start with the try-in
Before anything is bonded, look at the veneers in the light the patient will live in.
There is a classic mistake every one of us has made. The restoration looks incredible in the chair, under the operatory light. You cement it. The patient walks out into natural daylight and it looks gray.
That is usually opacity, and it should have been caught earlier. Transilluminated photographs and good shade communication help. So does looking at the try-in honestly instead of hoping.
Isolation: no cord under a veneer
Rhodri used to place a retraction cord when he cemented veneers. He calls it a terrible idea now.
If a cord fiber is captured under a veneer, it is there until the end of time.
These days, if you watch how we cement in the course, there is no cord in the sulcus at cementation. Rhodri isolates the neighboring teeth with PTFE tape and cements two teeth at a time.
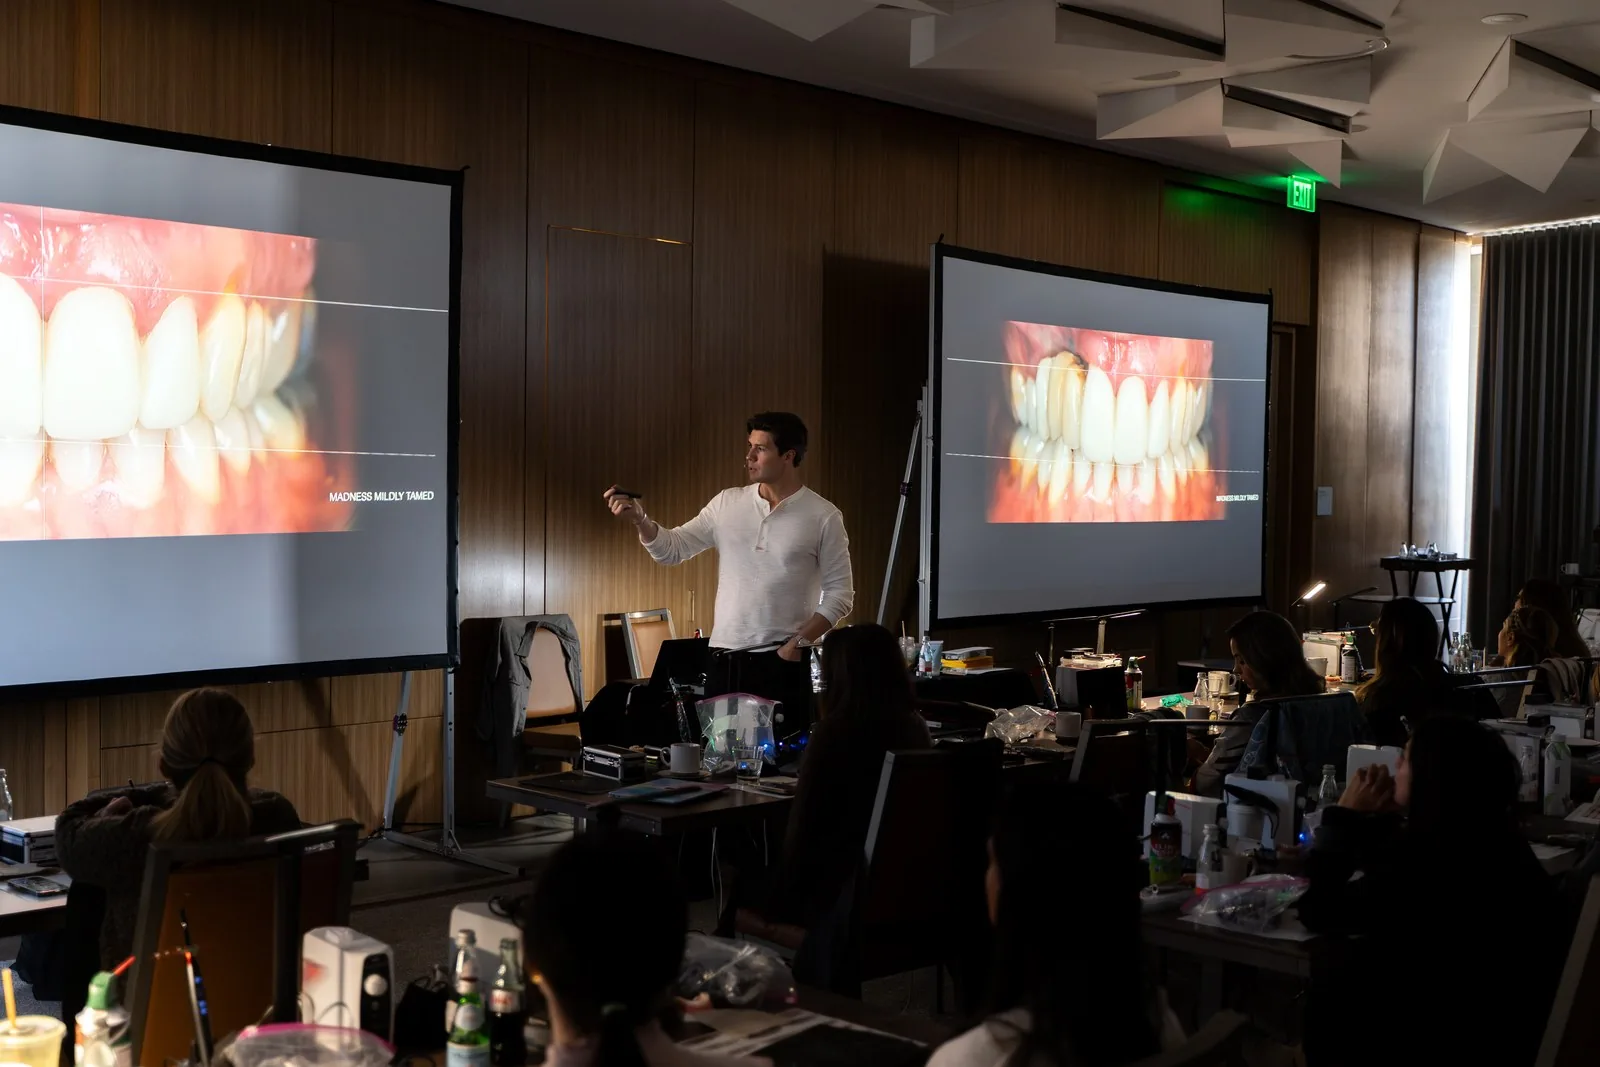
Etch, bond, seat
At its core, bonding porcelain to enamel is simple to explain to a patient. Etch opens the porosities in the enamel so the bonding agent can create an adhesive structure that holds on.
The details of the protocol, the timings, the materials and the order, are written in the Art of Ceramic manual so attendees can follow them chairside. I want dentists to use the same protocol every time until they understand exactly why each step is there.
What matters most is consistency:
- Isolate so the field stays clean and dry.
- Treat the tooth and the porcelain according to your system, the same way every time.
- Seat with control, a small number of veneers at a time, so you can manage the cement.
- Clean up thoroughly before the cement is fully set where you can.
- Check the contacts, the margins and the bite before the patient leaves.
Clean the cement, every time
Rhodri shows a case that came to him with veneers from another practice. The preps had no real margin, the ceramic was bulky, and it was lifted off the teeth. Under the edges, cement had been pushed into the gums and left there.
The patient brushed her teeth. Her gums were still inflamed. It was restoratively induced inflammation, and it came from the margins and the cement.
He removed the veneers carefully, cleaned out the old cement with a fluted carbide bur, and let the tissue heal.
Excess cement at the margin is not a cosmetic problem. It is a health problem.
Margins that cement well
Clean cementation starts at the prep. A smooth, well-defined margin is easier to seat and easier to clean.
Rhodri places a fine cord to dry the margin and stop the fluid, then passes a bur without water around it once or twice to make it smooth. A bumpy margin will not integrate cleanly at a microscopic level. That cord belongs to the impression appointment. It has no place under a veneer at cementation.
The bite after cementation
The case is not finished when the cement sets. Check function.
Feldspathic porcelain on top of an unstable bite will chip. If you changed the occlusion, protect it. In bite-opening cases I often leave the last molars untouched so they can super-erupt into contact, which gives me a reference point I can monitor.
Plan the appointment, not just the protocol
Long cementation appointments are hard on everyone. Fatigue is when steps get skipped.
Rhodri splits larger cases so the patient is not in the chair for an entire day. On one case he did the lower arch directly in composite and the upper in porcelain, spread over two days.
Think about protection afterward as well. When you have changed the bite or placed porcelain on a bruxer, plan the night guard as part of the case, not as an afterthought.
Finally, photograph the result at cementation and again at review. The margins and the gums a few weeks later tell you more about your protocol than the day itself.
The takeaway
- Try in honestly, in natural light, and check opacity.
- No retraction cord under veneers at cementation.
- Cement in small groups so you control the cement.
- Clean every margin before you let the patient go.
- Check the bite and protect the porcelain.
The veneer is the last thing you place. Place it like it matters.
Related reading: veneer temporaries and feldspathic veneers and the bite.
Questions, answered.
How many veneers should be cemented at once?
Many clinicians cement a small number at a time, often two, so the cement and seating can be controlled and excess removed cleanly. Dr. Rhodri Thomas cements two teeth at a time.
Should I use retraction cord when cementing veneers?
Dr. Rhodri Thomas no longer does, because a cord fiber captured under a veneer cannot be retrieved. Adjacent teeth can be isolated with PTFE tape instead.
Why do gums get inflamed around veneers?
Common causes are poor margins, bulky ceramic and excess cement left at or under the margin. Clean margins and thorough cement removal help prevent it.
Why does a veneer look different after cementation?
The try-in may have been judged under operatory light, or the opacity did not suit the tooth. Check try-ins in natural light and communicate opacity to the ceramist.