Journal · 4 min read
The Direct Mock-Up: How I Show Patients Their Smile at the First Visit
A wax-up shows the lab what you want. A direct mock-up shows the patient, and it shows you exactly where you will need to prep.
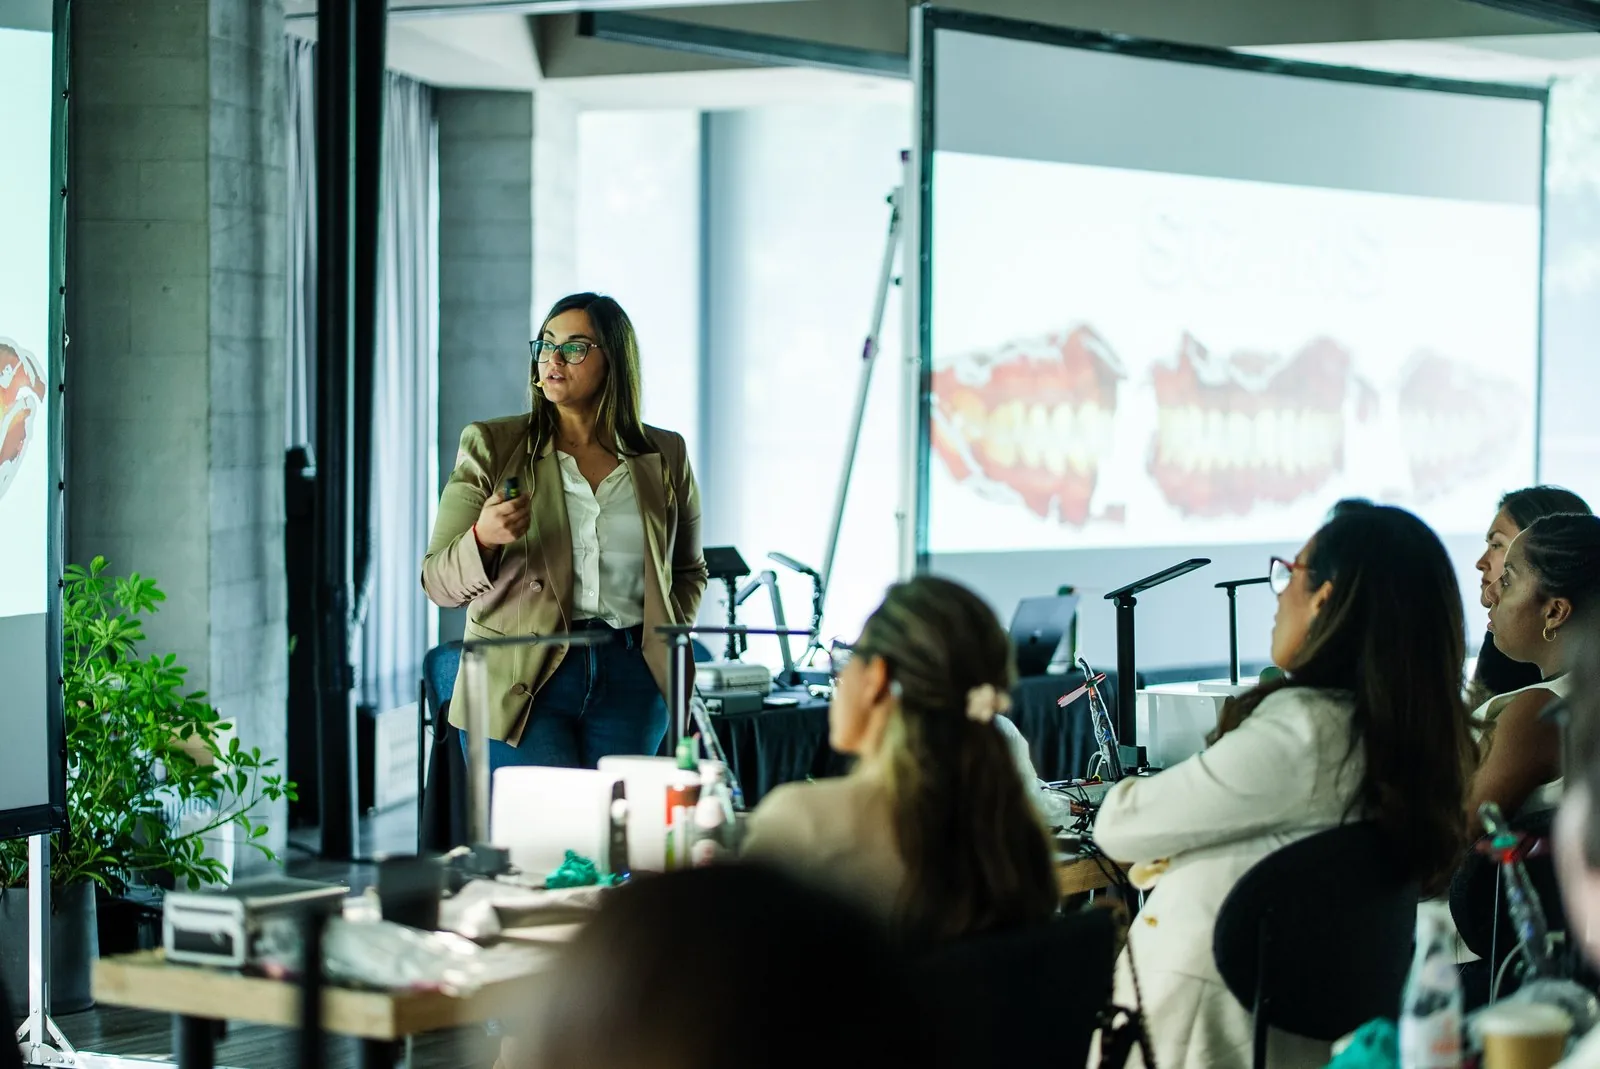
Everybody has heard the word mock-up. There are a lot of different kinds.
In my workflow, three happen in the consultation and one happens after the patient has accepted treatment. The one I want every dentist to master is the direct mock-up, chairside, at the first visit.
Why direct
Think about everything that has to go right with an indirect trial smile. I take scans. The lab gets the scans. They have to get my instruction and follow it. The patient comes back.
A direct mock-up happens in the chair, in front of the patient, the same day. I add composite to their teeth freehand, they look in the mirror, and we have a conversation about something real.
It also takes far less time than people think. When I demonstrate it in a consultation, it takes five or ten minutes, and I tell the patient this is a rough sketch. When we do the real design, it takes thirty to forty.
It teaches the patient
The direct mock-up is the best patient education tool I have.
While I am adding material, I am talking. Look at all this volume I am adding in the back. I barely have to touch this tooth in the front. This one is sticking out a little, so I will roll it back in.
They are watching it happen. They understand that I am adding, not grinding everything down.
At the end I hand them a mirror and pop off one side. Now they see the before and after on their own face, at the same time. One thing I like to do is mock up ten teeth, then pop off a few, so they can see the difference the full number makes.
Then the photo, and silence
After the mock-up I take a full face photograph. It goes up on the screen beside the initial photo.
Then I stop talking. The first person to talk loses.
Their first reaction tells you whether they see the vision the way you do. If they do not, that is information too.
It tells you where to prep
This is the part dentists underestimate. The mock-up is not only for the patient. It is a prep guide.
Where I have added material, I know I do not have to touch that part of the tooth. Where the tooth sits outside the mock-up, I know I have to reduce.
A full contour wax-up on a ground-down model can look beautiful and tell me nothing about preparation. So when I do ask a lab for help, I ask for a mock-up, an addition and reduction design, not only a full contour wax-up.
Trial smile versus direct mock-up
A trial smile is an indirect, additive shell made by the lab. It goes over the teeth without preparation, so it works for short and worn teeth. It does not work for big flared teeth, because you would be adding to teeth that are already too far forward.
There is a nice bonus: once adjusted, the trial smile can become your temporary matrix.
For flared and crowded cases, I use a reduction and addition mock-up instead: reduce what is outside the arch, add what is inside it.
The mock-up after "yes"
The last mock-up happens once the patient has said yes. I etch and bond so the mock-up stays on the teeth while I take impressions, usually two, because one inevitably distorts. This is the design I prep through, and it becomes the reference for the temporaries.
How to get good at it
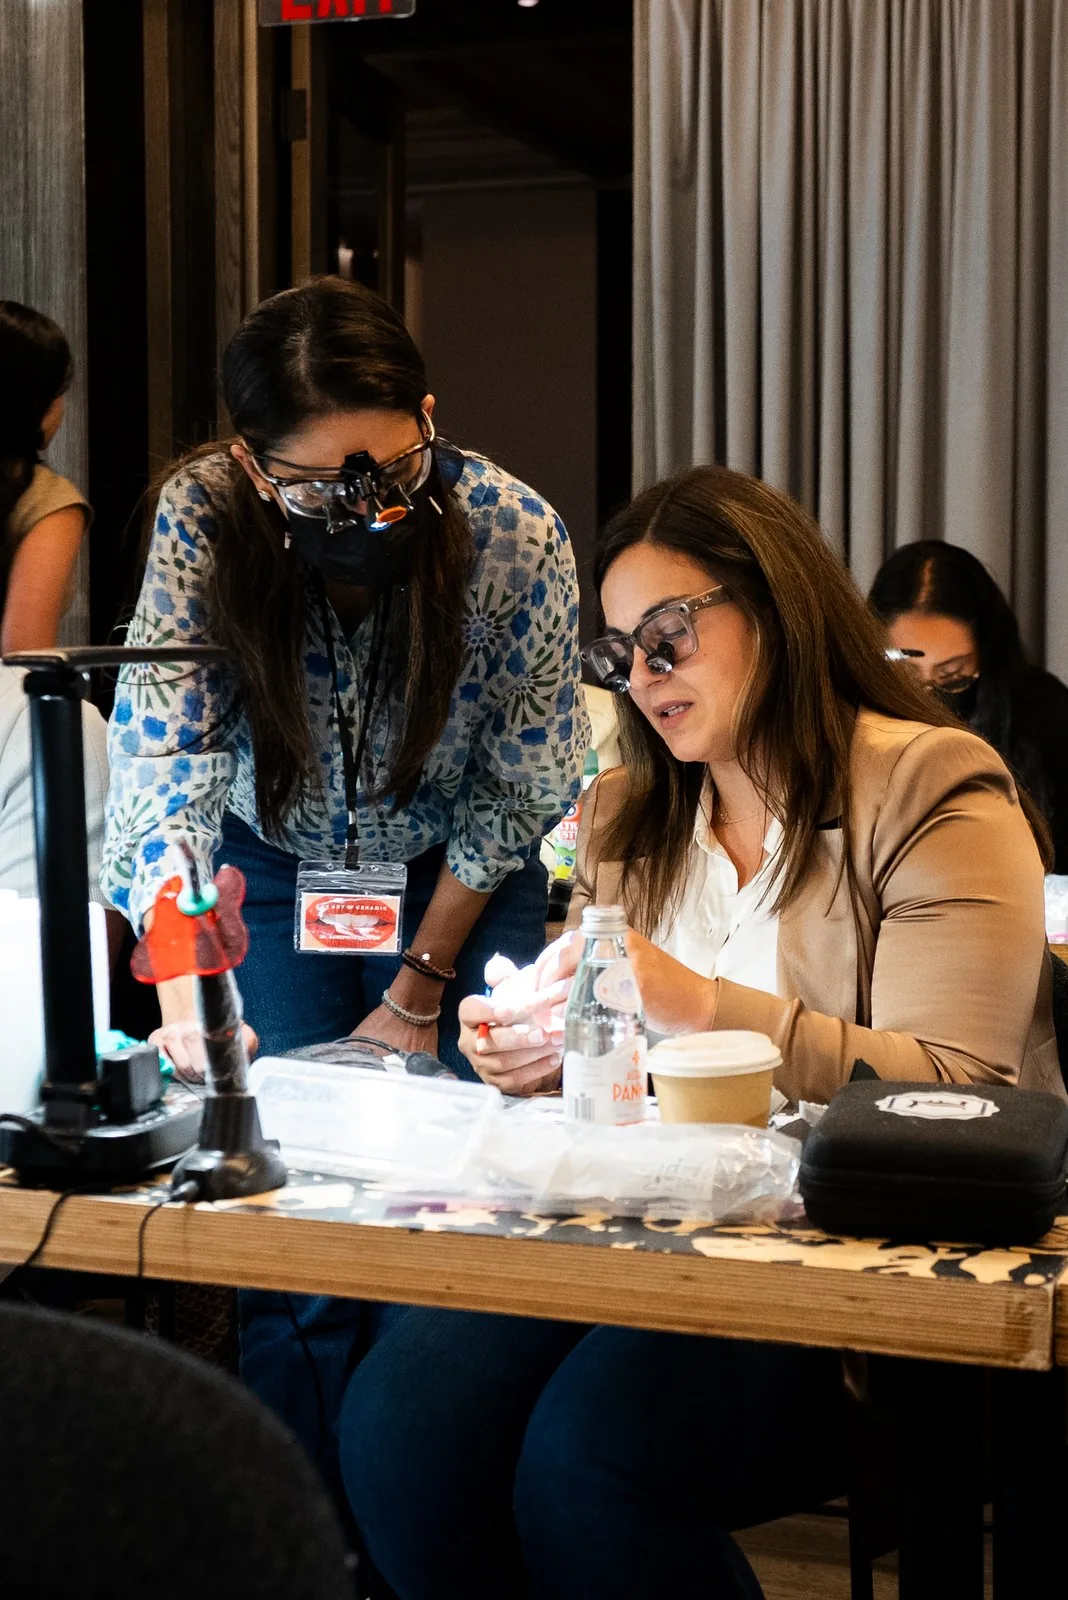
Practice on models first. Do it until the composite handling is second nature. Use a fresh, controlled amount of composite, and learn to shape with your gloved finger before you reach for instruments.
That is exactly what we do at the bench on day one of Art of Ceramic.
When the mock-up reveals the other arch
Sometimes the mock-up tells you something the patient did not ask about.
I can lengthen the upper teeth beautifully in a mock-up and then realize the lower teeth will not let me keep that length. So I put the patient back in the chair and mock up the lower teeth too. Now look at the face from one side to the other. The difference is obvious to them.
That is a far easier conversation with a mock-up on their face than with a sentence. In order to get this length, I have to treat the bottom as well.
The takeaway
- Mock up directly, chairside, at the first visit.
- Talk while you add, so the patient learns the process.
- Photograph it and show it next to the initial photo.
- Stay quiet and watch the reaction.
- Use it as your prep guide: added areas need little or no reduction.
Related reading: cosmetic case acceptance and veneer preparation design.
Questions, answered.
What is a direct mock-up in cosmetic dentistry?
A direct mock-up is a temporary composite design added freehand to the patient's teeth chairside, so the patient can see the proposed smile and the dentist can plan the preparation.
What is the difference between a mock-up and a trial smile?
A direct mock-up is built chairside in composite. A trial smile is an indirect additive shell made by a lab from scans; it suits short or worn teeth but not flared ones.
Does a mock-up help with veneer preparation?
Yes. Areas where material is added need little or no reduction, while teeth sitting outside the mock-up need to be reduced. It is a direct guide for prep design.
How long does a direct mock-up take?
A rough consultation mock-up can take five to ten minutes. A detailed design typically takes thirty to forty minutes.