Journal · 4 min read
Veneer Preparation Design: Build the Arch Before You Prep
The most common prep mistake is not the depth or the margin. It is prepping each tooth where it is instead of where it is going.
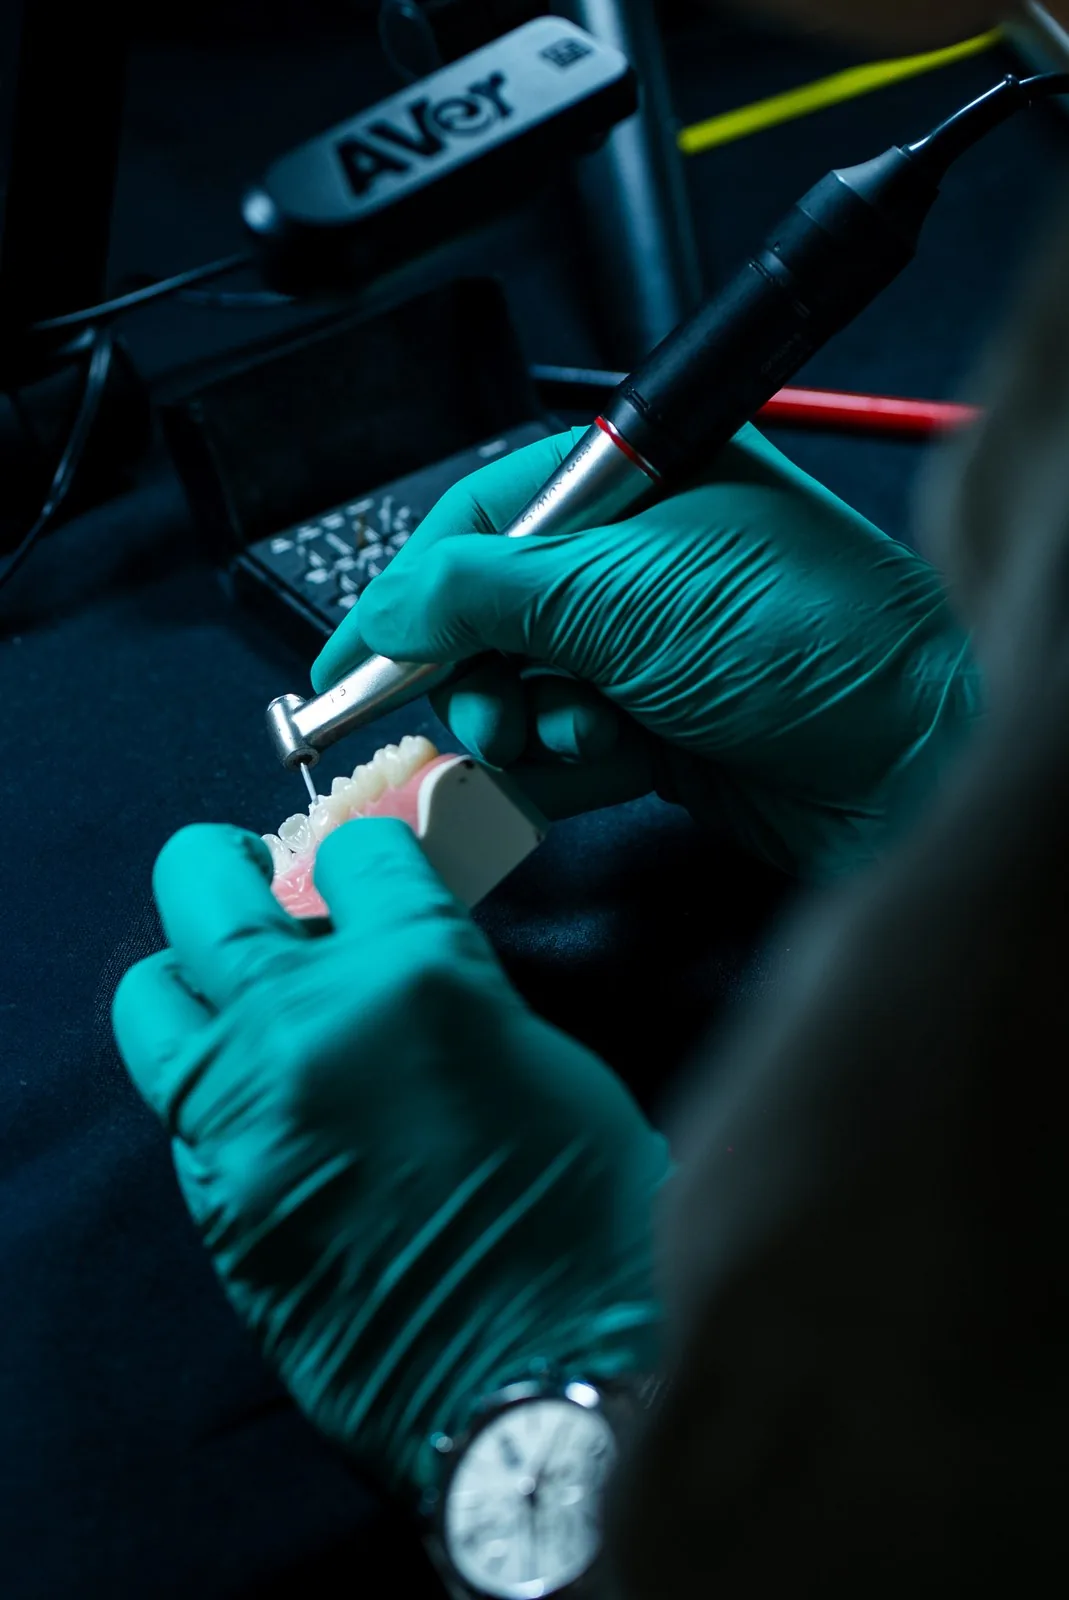
If I could teach one thing about veneer preparation, it would be this.
Before you prep a single tooth, develop the arch.
Dentists come to Art of Ceramic wanting to talk about depth cuts, margins and burs. Those matter. But most preps go wrong earlier, in the decision about where each tooth is going to end up.
Prep the destination, not the tooth
A veneer prep is not a uniform layer of enamel removed from whatever is in front of you.
If a tooth is flared out of the arch and you prep it evenly, you end up with a flared veneer. If a tooth is lingually inclined and you prep the facial, you remove enamel the tooth never needed to lose.
So the prep has to be designed from the final position. Final tooth position guides the prep. That is why facial analysis and the mock-up come before the bur, not after it.
The perfect arch method
This is the exercise we do on day two of the course, on a model where the teeth are crowded, rotated and flared.
- Mark the ideal arch. On the model, I draw where the arch should be in blue.
- Mark everything outside it. Anything that sits outside that arch gets marked in red.
- Reduce the red before you add. Take down what is outside the arch first.
- Then add composite to bring lingual teeth out to the arch.
- Only then cut individual preps.
If a tooth is flared out, I bring it into place. If a tooth is lingually inclined, I prep it from the inside so I can bring it out.
Once the teeth are aligned in the arch, a monkey could do veneer preps, because all the teeth are in the right place. That line gets a laugh every course. It is also the single biggest takeaway I want dentists to leave with.

Keep the bur in the axial inclination
When I am reducing toward the arch, I always position the bur in the same axial inclination as the teeth behind it. I am not tipping the bur to match the angulation of the tooth I am cutting, because that tooth is the problem.
I want the canines and the posterior teeth in the same plane. If I lose my place, I go back to the premolar, align myself, and bring it forward to the canine again.
The area people most commonly miss is the canine cusp tip. Roll it, so the axial inclination of the canine feeds into the teeth behind it.
Feel it, do not just look at it
Your eyes lie to you on a model, especially when you have been staring at it for an hour.
So I use my fingers. Same hand, thumb and index finger, run along the arch. You will feel the tooth that is still sitting outside it before you see it.
This is one of the reasons hands-on matters. You cannot learn that feel from a slide.
Additive first means less prep
Here is the part that surprises dentists. When you design the arch first, many teeth need almost no facial reduction.
If a lateral sits lingual to the arch, it is going to carry a lot more material than the central next to it. That usually means you are not going to prep the facial of that lateral much at all, because the space is already there.
The mock-up tells you this before you touch the tooth. Where you are adding volume, you do not need to cut. Where the tooth sits outside the mock-up, you do.
That is why I ask for an addition and reduction mock-up rather than relying only on a full contour wax-up. A wax-up built on a ground-down model can look beautiful and tell me nothing about preparation.
Margins: think about where they will show
Minimal does not mean no finish line.
In the anterior I almost always place a finish line. Where recession happens, it often shows interproximally, and an exposed margin between the front teeth is much more noticeable than one on a premolar.
Rhodri adds a rule for diastema closures: you have to drop the interproximal margin so the ceramic can emerge and close the space. If you do not, you get a black triangle or a ledge of ceramic that traps plaque.
Practice where mistakes are cheap
You should not go into a patient's mouth and have it be the first time you have done something.
Print the model from your scan. Prep the model. Photograph it. Look at it the next day with fresh eyes. In our course I tell dentists to send me those photos for feedback. I always say maybe five people in the room will take me up on it.
The takeaway
- Design from the final position, not the current one.
- Build the arch first: mark, reduce, add, then prep.
- Keep the bur in the axial inclination of the teeth behind it.
- Use your fingers to find what your eyes miss.
- Let the mock-up tell you where you do not need to cut.
Get the arch right and the individual preps become simple.
Related reading: the direct mock-up and minimal-prep versus no-prep veneers.
Questions, answered.
What is the most important principle of veneer preparation design?
Prepare to the final tooth position, not the current one. Develop the arch first with reduction and additive mock-up, then cut individual preparations.
How do I avoid over-preparing veneers?
Use an addition and reduction mock-up. Where the mock-up adds volume, little or no facial reduction is needed. Only reduce where the tooth sits outside the planned arch.
Should anterior veneer preps have a finish line?
In most anterior cases, yes. A defined finish line gives the ceramist a clear seat and avoids visible interproximal margins if recession occurs.
Can I practice veneer preps before treating patients?
Yes. Print a model from your scan and prep it first. Art of Ceramic includes hands-on prep exercises on crowded and rotated models.