Journal · 4 min read
From Impression to Refractory Model: The Lab Workflow Behind a Veneer
Most dentists never see what happens between the final impression and the try-in. Every step of it depends on what you sent.
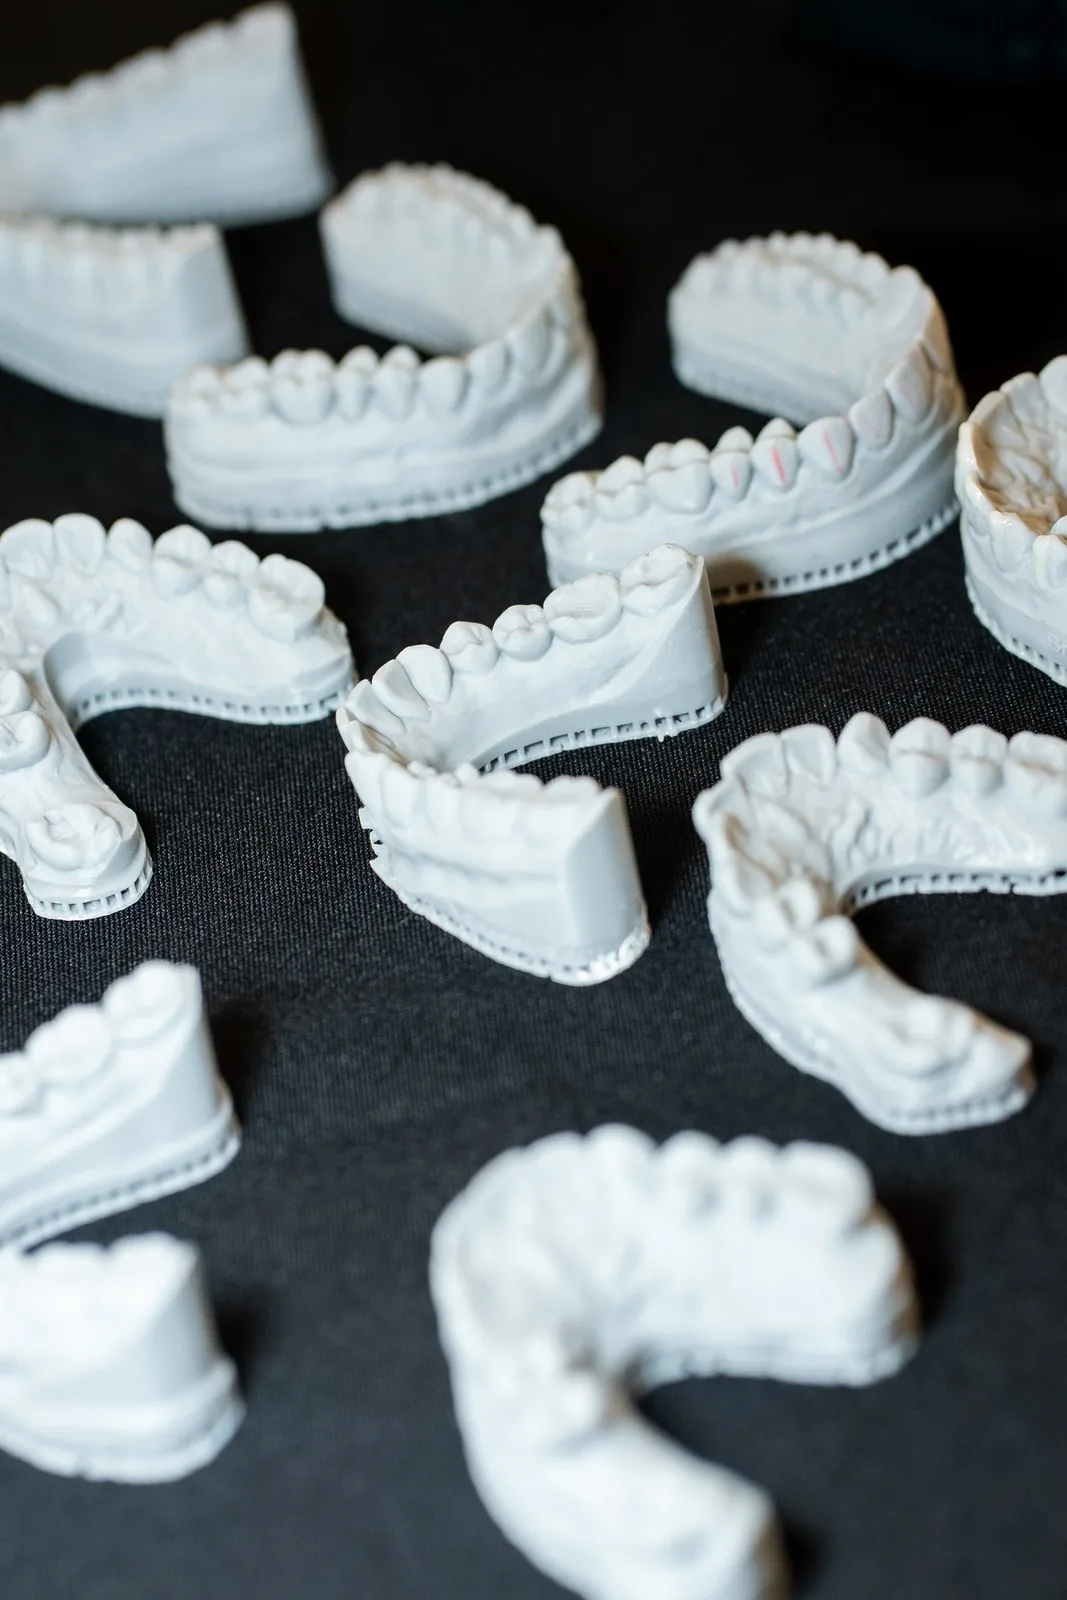
When a veneer comes back wrong, dentists blame the porcelain.
Often the problem started in the model.
I work with an in-house lab at Apa Aesthetic, and for many years before that I sent cases out. Either way, the lesson is the same. The ceramist builds on a copy of your work. If the copy is wrong, the porcelain will be wrong in exactly the same way.
Why the model matters more than you think
When I first compared a digital scan to an alginate on the same patient, we poured both and looked at them side by side. Even with an excellent assistant taking the alginate, the poured model had discrepancies.
That matters at every stage. If you build a wax-up on an inaccurate model and make your temporary matrix from it, the matrix will not seat the same way. The errors carry forward.
Digital scans are now in almost every practice. Five years ago, if I asked a room of dentists who had a scanner, one hand went up. Today, nearly every hand does.
The workflow, step by step
This is the general sequence a feldspathic veneer case follows through the lab:
- Impression or scan of the final preparations, with margins clearly captured.
- The master model. A stone pour or a printed model, with margins cleaned and readable.
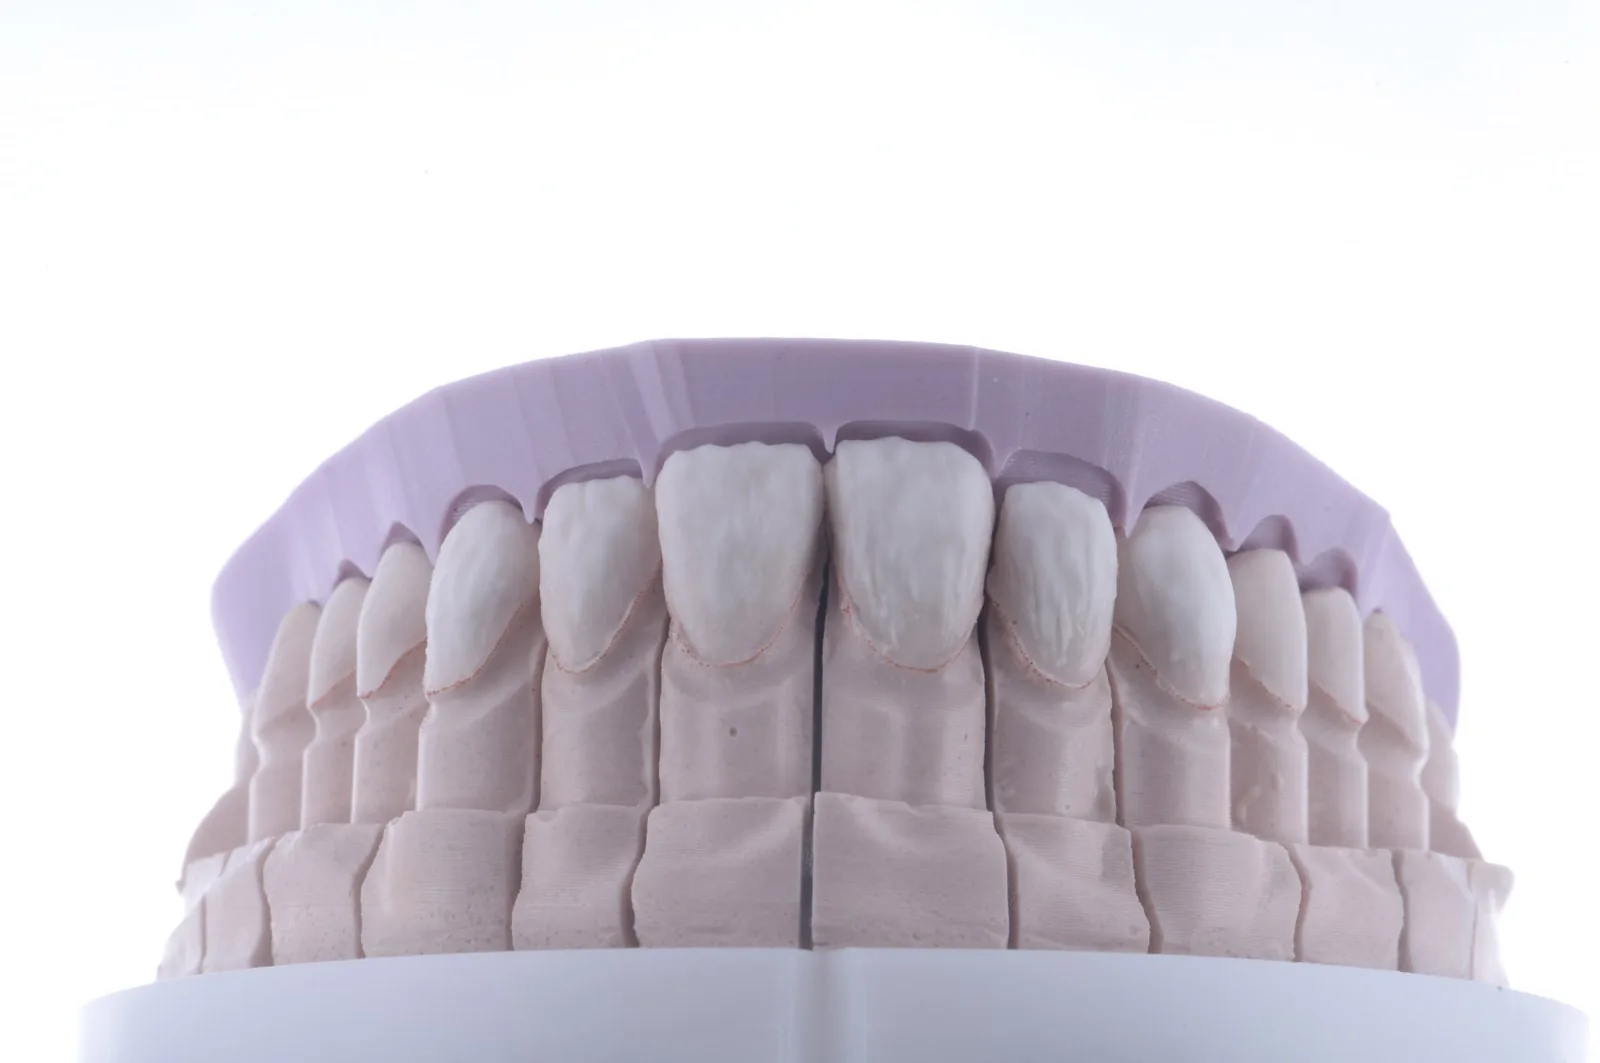
- Removable dies, so each preparation can be lifted out and worked on individually.
- Digital model and printing, where the workflow is digital.
- Duplication. A resin or stone die cannot go into a porcelain oven, so the dies are duplicated in silicone.
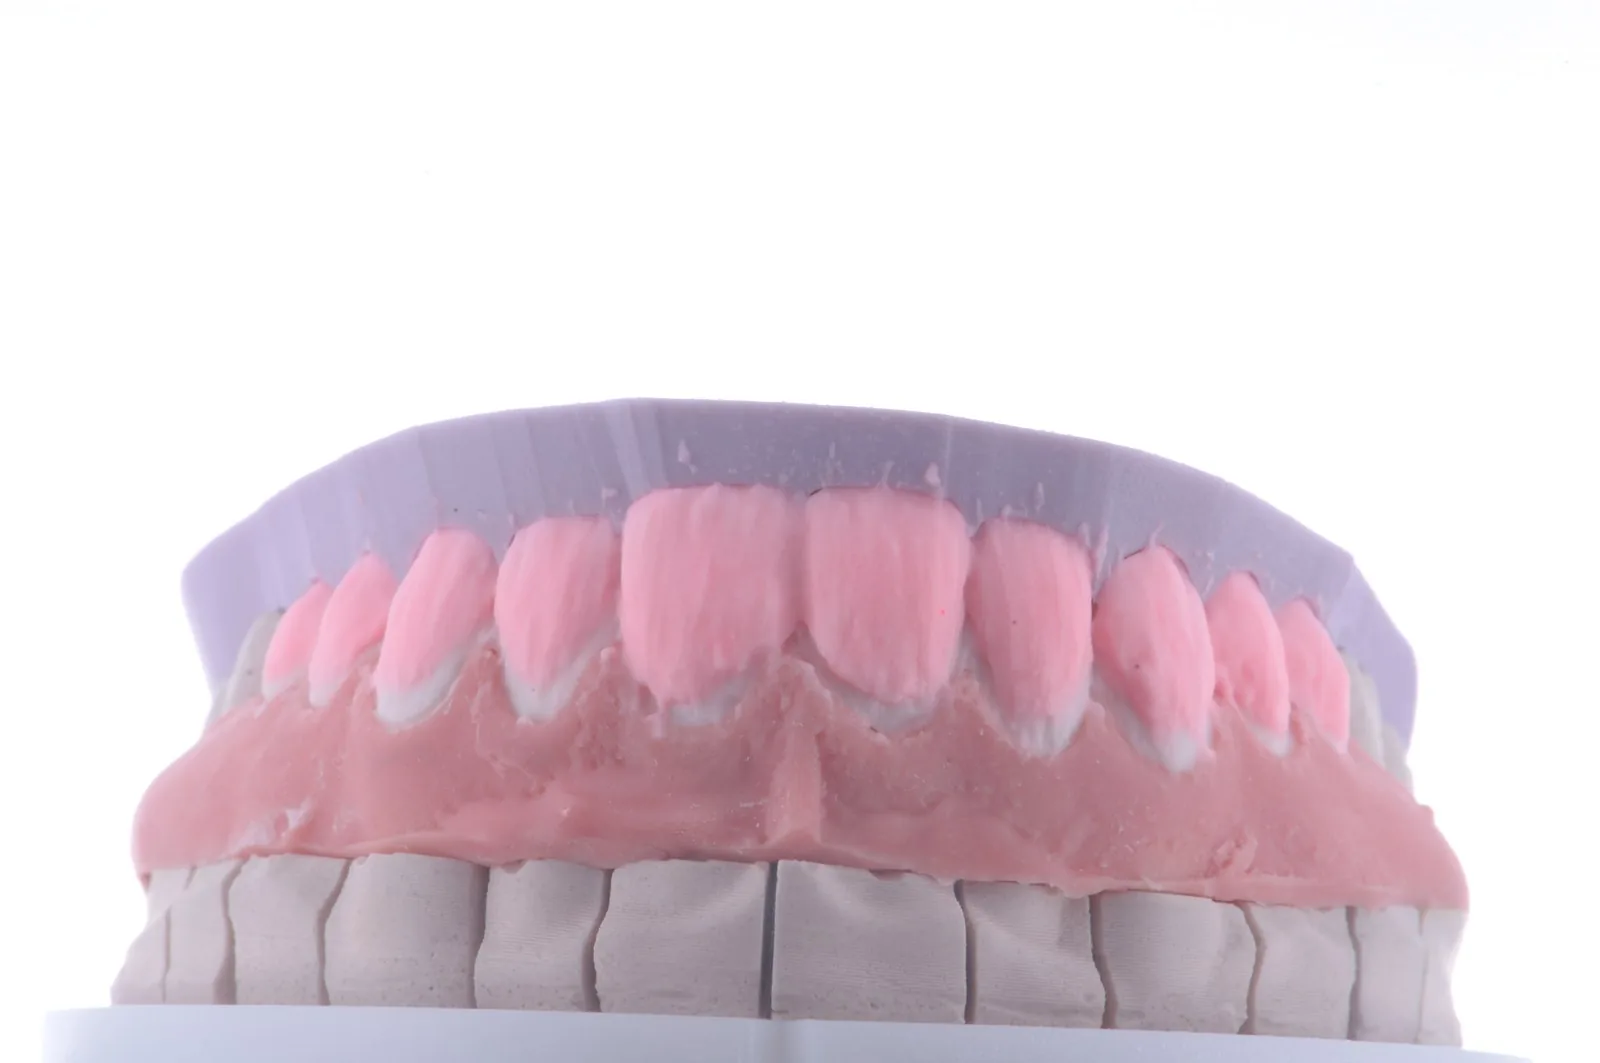
- The refractory die. The silicone mold is poured in a refractory material that holds its shape at firing temperature.
- Layering and firing directly on the refractory die, then finishing, texture and fit back on the master model.
At Apa, our model work is led by Mateus Dal Bello, who teaches this sequence in detail in The Master Model.
What the dentist controls
You do not pour the model. You do control almost everything that decides whether it is accurate.
The margin. If the margin is not captured, the die cannot be trimmed correctly and the veneer cannot fit. Rhodri dries the margin with a fine retraction cord before he passes a bur around it once more, so the preparation is smooth and the scan or impression captures a clean line.
The prep surface. Bumpy margins and rough line angles end up in the die. Smooth everything.
The information. The model shows the preparation. It does not show the face. Send photographs, measurements, the approved temporaries and a scan of them.
Refractory or platinum foil
Not every ceramist builds on refractory dies. Some use platinum foil adapted over the die, which acts as a small spacer. Veneers made on foil fit a little less intimately and can seat more than one way. Veneers built directly on a refractory die fit more intimately and seat one way.
Neither is wrong. Ask which technique your ceramist uses, because it changes how you prep and how you try in.
The temporaries are part of the model
The approved temporaries are the most important reference the lab can have. They are the design the patient has already lived with.
In our workflow the lab takes an index of the temporaries, layers to that incisal position, finalizes the texture, and confirms the position with the index before the porcelain goes on the refractory model.
If you skip the temporary records, you are asking the ceramist to guess at a design you already solved.
Questions to ask your lab
- Do you work from a stone or printed master model for this case?
- Do you build on refractory dies or platinum foil?
- What do you need from my margins to trim the dies cleanly?
- Do you want scans or models of the temporaries, and photographs of them?
- How will you confirm position before final firing?
Why the lab still needs the face
A perfect model is still only a model.
If one side of the smile is weaker, we often build it out more so the smile balances in the face. A technician who only sees the model may correct that and make both sides equal. They are not wrong to do it. They just cannot see the patient.
So the model travels with the face: a full face smile photograph, photographs of the temporaries, and notes on what the patient wants. The model gives the ceramist accuracy. The photographs give them the reason.
The takeaway
The refractory die is the last copy of your preparation before porcelain.
Capture the margin. Smooth the prep. Send the temporaries. Ask how your ceramist builds. Then the model can do its job.
Related reading: feldspathic veneers on refractory dies and writing a veneer lab prescription.
Questions, answered.
What is a refractory model in dentistry?
A refractory model or die is a heat-resistant duplicate of the prepared tooth. The ceramist layers feldspathic porcelain directly on it and fires it, which a stone or resin die cannot withstand.
Why can't porcelain be fired on a stone or printed die?
Stone and resin dies cannot withstand porcelain firing temperatures. They are duplicated in silicone and poured in refractory material that holds its shape in the oven.
What can dentists do to improve veneer fit?
Capture clean, smooth margins in the impression or scan, send records of the approved temporaries, and confirm whether the ceramist builds on refractory dies or platinum foil.
Where can I learn the master model workflow?
The Master Model is a self-paced online course from Stribe that follows one case from impression to refractory die, taught by dental technician Mateus Dal Bello.