Journal · 5 min read
Cheek Retractors for Dental Photography: Size, Placement and a Clean Frame
The retractor is the simplest thing in your photography kit. It is also the piece that can quietly ruin a retracted view before you press the shutter.
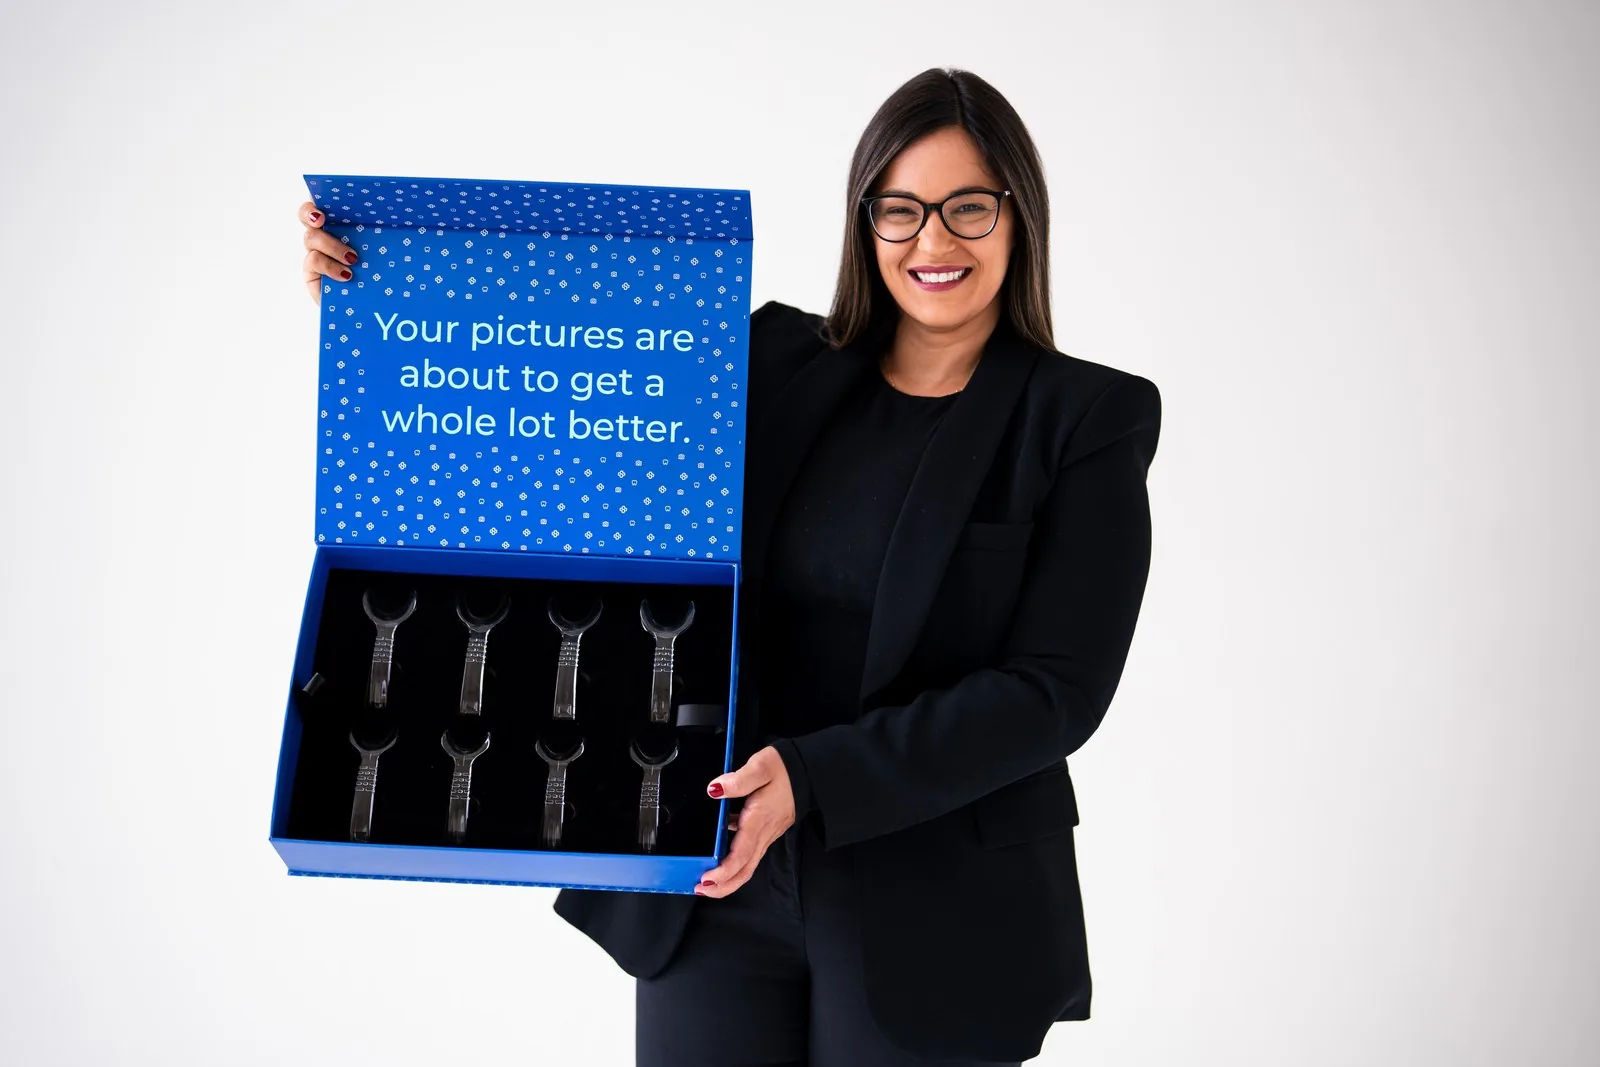
Nobody gets excited about a cheek retractor.
It is the simplest piece of plastic in your dental photography kit. There is no setting to learn and nothing to charge. That is exactly why it gets ignored, and why so many retracted photos have lips curling over the edges and dark shadows in the back of the mouth.
I have written about my camera settings and the full series and about the contrastor. This post is about the cheek retractor: what it is doing in the photo, how to choose the size and how to keep it nearly out of the frame.
What the cheek retractor is doing in the photo
A retracted view moves the lips out of the way so you can see the teeth.
In the standard series I use, the retracted photos are taken front, right and left, with the upper and lower teeth slightly parted so the incisal edges are visible. I shoot them at f/22 to f/28, with a lens ratio of 1:2 on a full-frame camera or 1:3 on a crop sensor.
The goal of every one of those images is the teeth. Not the lips, not the retractor and not the patient's cheeks stretched into a shape they have never made before.
So the retractor has one job. Open the view, then get out of the way.
Size is the first decision
Retractor size and shape are very important. I made that point in my 2020 paper in the Journal of Cosmetic Dentistry, and it is still the choice that gets the least attention.
When the retractor is the wrong size, the lips curl over it. Now you are photographing a rolled lip instead of a clean frame, and it becomes much harder to capture the image you need. When a retractor is the wrong size and positioned the wrong way, you also get shadows in the posterior.
Neither of those is a camera problem. You cannot fix them with the aperture.
Keep more than one size. Mouths are different. Lips are different. One size will not fit every patient, and the patient in your chair is not going to adapt to your retractor. The kit we put together for this, The Box, includes large and small separated retractors plus connected flexible ones.
If the lips are curling, try a different size before you pull harder.
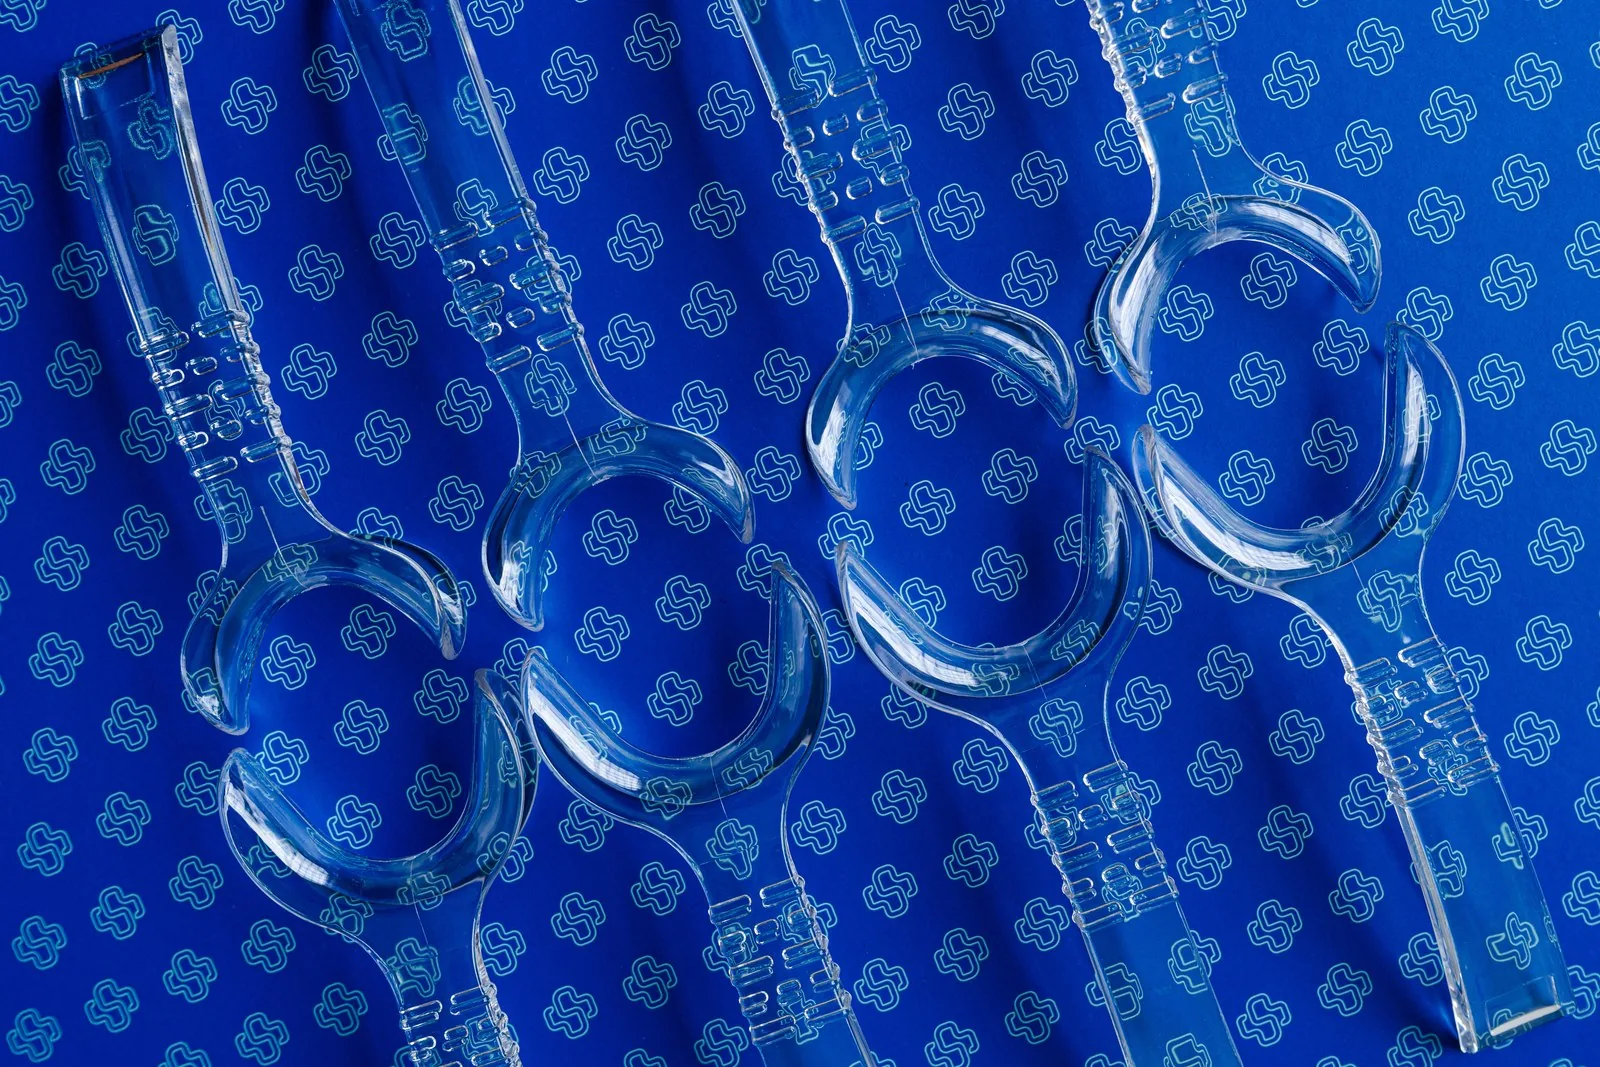
The retractor should almost disappear
Here is the standard I hold my retracted photos to: as little retractor as possible.
When you take a retracted photo, position yourself so that as little of the retractor as possible shows in the image. That is what creates a clean esthetic. Minimize the appearance of the lips and the retractors in every retracted view.
For the maxillary anterior close-ups, the rule is stricter. No retractors should be visible at all, and only four to six teeth should be in the frame. I shoot those at a 1:1 ratio on a full-frame camera, or 1:1.5 on a crop sensor.
If you can see the retractor handle in a close-up, the shot is not finished.
The retractor shows up in more of the series than any other accessory. That is why its size matters so much.
Position yourself, not just the retractor
A clean retracted view is not only about where the retractor sits. It is about where you are.
An improper angle cannot be corrected after the fact. Be mindful of the height of the patient relative to the camera and the angle the camera is facing. Do not be afraid to adjust the patient's position to get the photo right. It becomes easier with time.
Then set your lens ratio and move your body in and out until the image is sharp. Working that way keeps you at the same distance every time, which is what makes one patient's retracted views line up with the next appointment's.
A dark photo can be brightened later. A blown-out photo cannot be saved. A photo full of curled lip and visible retractor cannot be saved either. Look at the screen before the patient takes the retractors out.
Who holds the retractors
At my consultations we take a full set of dental photos, apart from the occlusals. Those wait until the patient has said yes, because they take more stretching and more coordination with my assistant.
Rhodri described his own consultation flow in our course. He takes his photographs during his first look in the chair, and if his assistant is not in the room, he has the patient hold the retractors. Then he puts those photos up on a big screen, so the patient can see for themselves what he sees.
He also makes a point that the first time you touch a patient matters, because they are deciding whether you are going to be gentle. At a consultation, the retractors are often part of that first touch.
So decide in advance who holds the retractors for each view, you, your assistant or the patient. Practice it with your team. A patient holding a retractor that is the wrong size will feel it, and so will your photos.
The takeaway
Choose the size for the patient. Keep the retractor nearly out of the frame. Know which views need it. Check the image before the retractors come out.
My full equipment list, the twelve views and the settings are on the Stribe dental photography guide.
Questions, answered.
What is a cheek retractor used for in dental photography?
A cheek retractor holds the lips and cheeks away from the teeth for the retracted views of a dental photography series. Dr. Andi-Jean Miro takes the retracted photos front, right and left, with the teeth slightly parted so the incisal edges are visible.
What size cheek retractor should I use?
Keep more than one size and choose for the patient. In Dr. Miro's 2020 paper, retractor size and shape are called out as very important: the wrong size curls the lips over the retractor, and the wrong size in the wrong position casts shadows in the posterior.
Should cheek retractors show in dental photos?
As little as possible. Position yourself so very little of the retractor shows in the retracted views. In the maxillary anterior close-ups, no retractors should be visible at all.
Which dental photos are taken with retractors?
The retracted front, right and left views, the occlusal views and the retracted shade photo with three shade tabs. The full face and natural smile photos are taken without retractors.