Journal · 5 min read
The Contrastor in Dental Photography: Two Photos, Two Questions
A full-face photo shows the smile on the person. A contrastor photo gives the lab a closer look at the teeth. One does not replace the other.
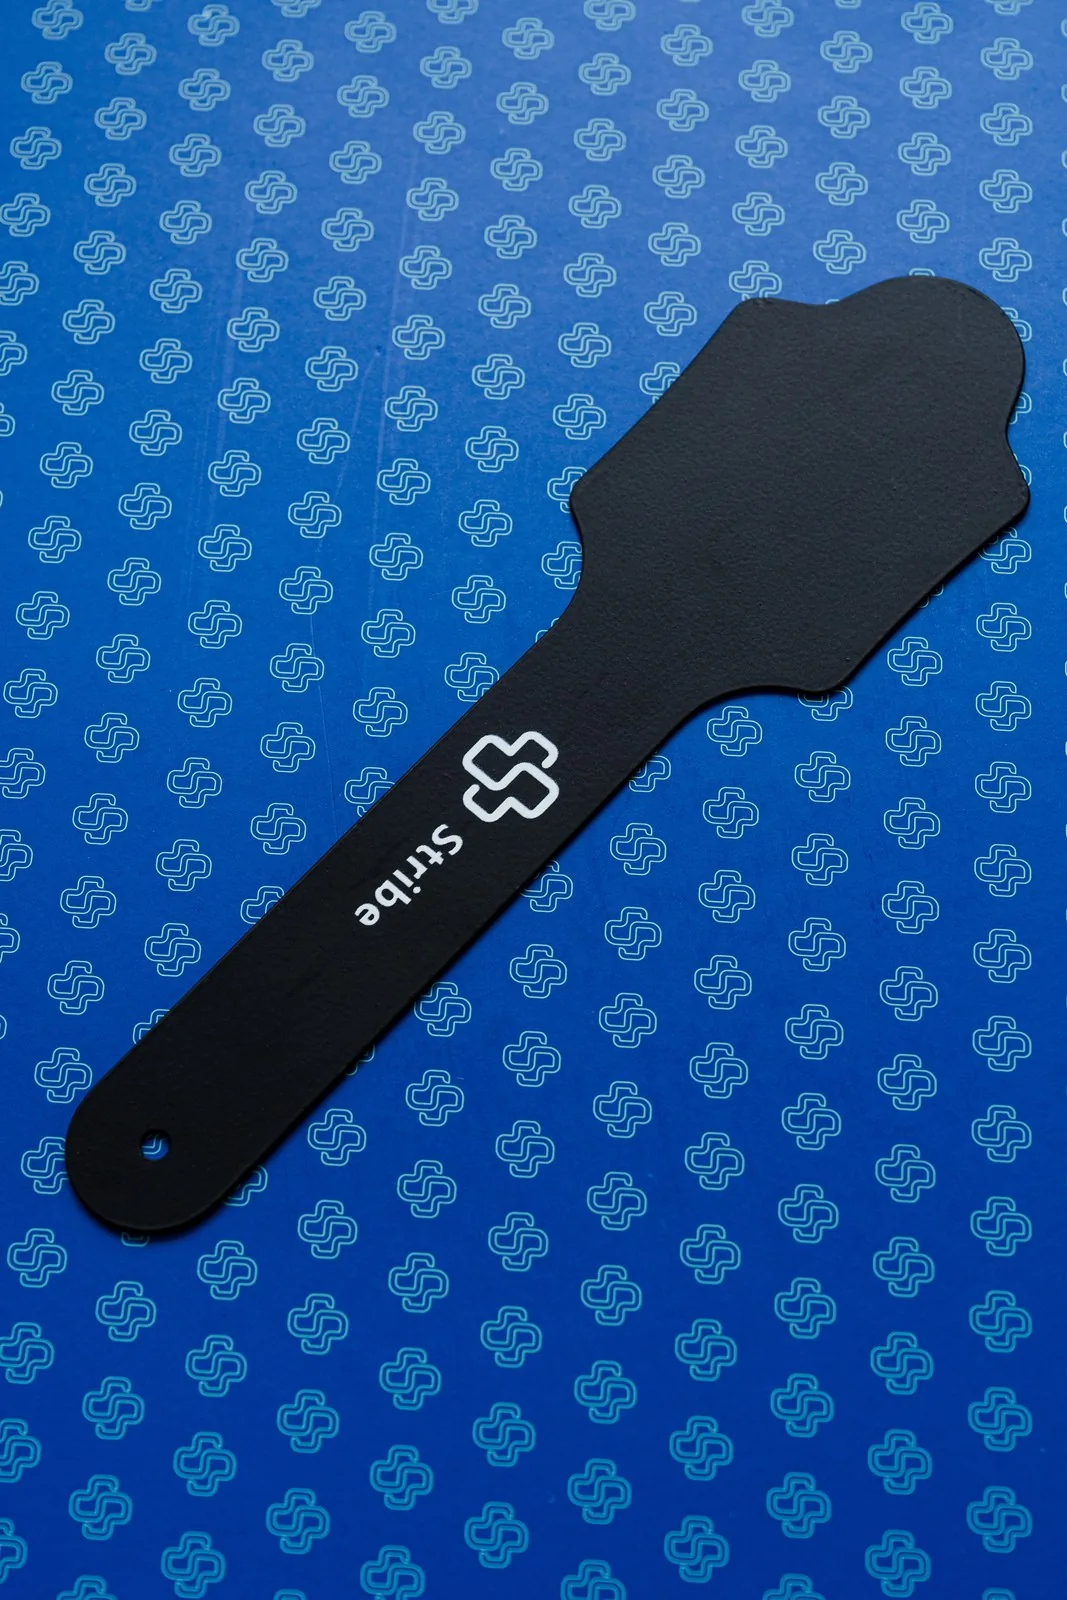
The contrastor belongs in a conversation about records, not just equipment.
A contrastor photo, with the tooth isolated against a black background, answers a different question than a full-face smile photo. Looking at both helps keep the tooth and the person in the same conversation.
This is not a camera settings post. I have written about settings and the full series already. This is about what each photo is for, and who it is for.
Start with the face
When we teach Art of Ceramic, we always start with full-face photographs of patients.
That is on purpose. Cosmetic dentistry is not a smile close-up. It is a full-face photo of a human being living their life.
The amazing part of a case is rarely the small change in the dentistry. It is the facial difference we create by putting the teeth in the right position.
So the full-face photo answers the big questions.
Does this smile fit this face?
Is the incisal edge where it belongs?
Does the buccal corridor look right when the patient is talking to you?
Rhodri does the same thing in his lectures. He will look at a set of temporaries and go back to the full face to decide whether the length is right or already borderline too long. You cannot make that call from a tooth on a black background.
What the face photo cannot tell you
Here is the problem.
The full-face photo includes the lips, skin and the setting around the patient. That context is valuable when we are judging the smile in the face.
It is not the same view as a close-up of the anterior teeth.
Think about what you are asking someone to judge. Are you asking whether the teeth fit the face, or asking them to look closely at an individual tooth? Those questions call for different views. A useful record makes the question clear instead of asking one image to do every job.
What the contrastor is actually for
The contrastor takes everything else away.
The black paddle sits behind the anterior teeth to provide an isolated background. It is a way of presenting the tooth detail, not a substitute for the rest of the photographic record.
It can be particularly useful when communicating tooth detail to the lab.
One of the dentists who came back to speak to our group explained that approach. In her shade-photography example, she described putting a shade tab in the image and the Stribe contrastor behind the teeth so the lab could see the details at the edge.
That is the useful teaching point: give the ceramist a view that shows what you are describing. The black background, the reference tab and the close-up each have a purpose. None of them means we can stop thinking about the full face or the rest of the records.
Two photos, two questions
This is how I would frame it for your team.
The full-face photo asks: Is this the right smile for this person?
The contrastor photo asks: What exactly does this tooth look like, so the ceramist can make another one?
The first one belongs in the consultation, on a screen, while you are still in the room with the patient. It is the photo that starts the conversation about what they want.
The second one supports the lab communication. It gives the ceramist another reference to consider alongside the rest of the case.
Do not ask the isolated photograph to decide the whole design. And do not assume a full-face photograph contains every detail the ceramist needs. The point is to build a useful set of records, not to choose a winner between two views.
Where the contrastor earns its place
Single anterior restorations make this distinction especially clear.
Matching one tooth to its neighbor asks the lab to pay close attention to the natural tooth beside it. Rhodri explains the importance of opacity when he talks about shade: a crown that looks good in the chair can look gray in natural daylight if the opacity choice is wrong.
He also uses the same black paddle for a second job. On single central cases he turns it sideways under the front teeth, puts a flash underneath it facing the back of the mouth, and fires. The light bounces back through the teeth, and the photo shows where the opacity sits inside them. He calls it transilluminated photography.
That is the same piece of equipment answering a third question: where is the opacity in this tooth?
The alumna who spoke to our group also uses her contrastors for ortho photos, not only cosmetic cases. Her words were that she has so many of them and uses them all the time.
What to look for in one
I am not going to turn this into a product review.
The practical point from the dentist who uses them every day was about cleanliness in the photo. She had bought other contrastors before, and her complaint was that they collected fuzz that then showed up in the images. That matters, because on a black background every speck is visible.
That is a useful reminder to look critically at the photograph itself. Does it show what you meant to show? Is there something in the image that distracts from the detail? Review the record, not just the equipment list.
You can find the one we use here: the Stribe contrastor.
Shade photos still need good flash
The contrastor does not fix bad lighting.
Rhodri talks about the effect of flash on color and the value of cross-polarized images for shade communication. A black background alone does not make the color information accurate.
So the contrastor is one part of the shade record. The shade tab in frame, the lighting and the black background all work together.
Keep the purpose attached to the picture
When you review your records, ask what each image contributes.
The full face keeps the person in view. The isolated anterior photograph gives you another look at the teeth. The shade tab provides a reference within that image. Lighting still needs attention.
That is a more useful way to think about a kit than collecting equipment without knowing which question each piece helps answer.
Two photos. Two questions. Neither one replaces the other.
If you want to see how these images fit into the whole plan, from the first consultation to the mock-up, read my post on smile design photography.
Questions, answered.
What is a contrastor in dental photography?
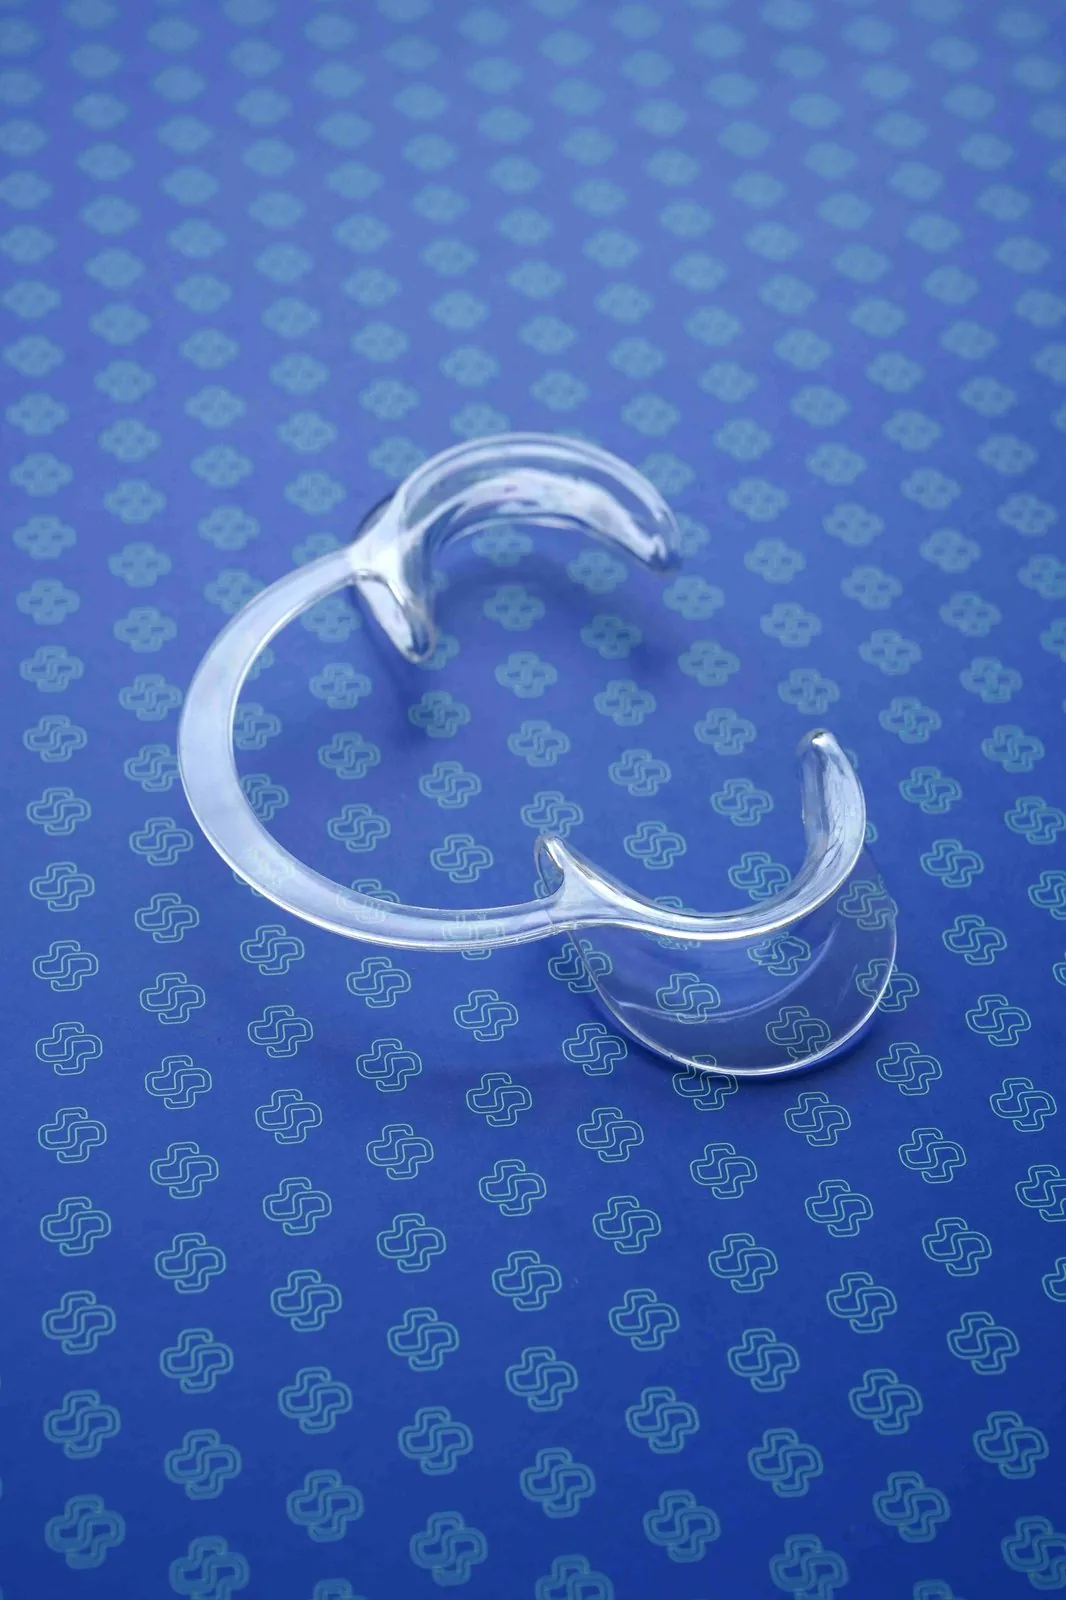
A contrastor is a black background paddle placed behind the teeth. It removes the lips, tongue and background from the frame so the edges, translucency and internal detail of the anterior teeth are easier for a lab to read.
Does a contrastor photo replace the full-face photo?
No. The full-face photo answers whether the smile fits the person. The contrastor photo shows the lab what the individual teeth look like. They answer different questions, and a cosmetic case needs both.
When is a contrastor photo most useful?
It is especially useful for lab communication on anterior cases, such as matching a single central to the adjacent tooth. It is typically taken with a shade tab in the frame and good flash or cross-polarized lighting.
Can a contrastor be used for other photos?
Yes. Some dentists also use contrastors for orthodontic photos, and in Art of Ceramic Dr. Rhodri Thomas shows how the same black paddle can be used for transilluminated photos that reveal where the opacity sits inside a tooth.