Journal · 6 min read
Cosmetic Dentistry Training Does Not End at Insert: Review Your Own Cases
The course gives you a protocol. Your own follow-up photographs tell you whether it worked.
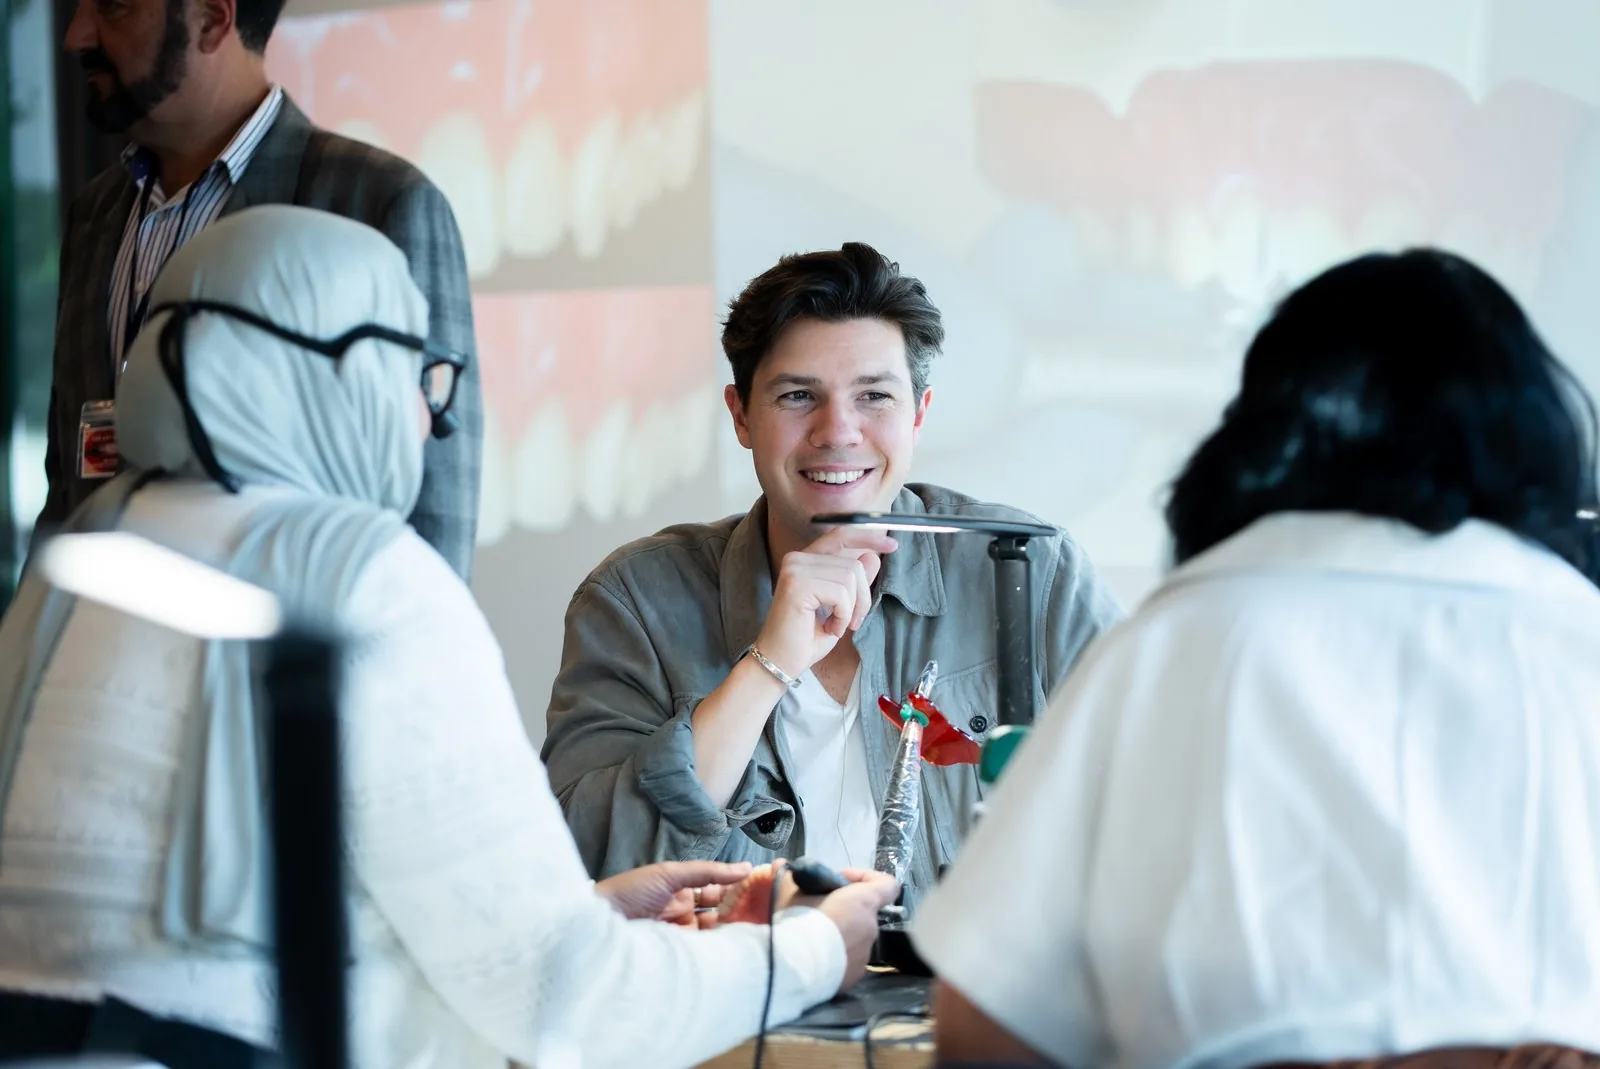
Cosmetic dentistry training should include looking at what happens after insert day.
A library of photographs can be an important part of that education.
When I joined my practice, I came into an office that had 30 years of photographs. What the teeth looked like before. What they looked like in the preparations. In the temporaries. At year one, year five, year ten, year 20.
That is a different kind of education. It shows you what lasts, and it shows you what does not.
So this post is not about which course to take. If you are still choosing, start with my guide to the best cosmetic dentistry courses in the US. This is about what you do after the course, when the learning moves into your own chair.
Why insert day is the wrong finish line
Insert day feels like the end.
The patient is happy. The photographs look clean. You post the case, or you close the chart, and you move on.
But insert day only tells you how the case looks on insert day.
It does not tell you how the tissue settled. It does not tell you whether the shade still blends in a different light. It does not tell you how the margins, the surface and the patient's bite behave over time.
Here is what nobody tells you after a course. The protocol is only half the lesson. The other half is watching your own work age.
I tell dentists that taking hundreds of photos will teach you a lot about your dentistry, what was good and what was bad. I take about 400 photos a day. The records let us look at the work again rather than relying only on what we remember.
Cosmetic dentistry training continues in your own records
It is easy to treat the final photograph as the last step.
I want you to think about reviewing it again, later, with the same eyes you used to plan it.
That only works if the record exists. Records are incredibly important. At consultation we take a full set of dental X-rays and a full set of dental photos. We take digital scans. Once the patient says yes, I add the views that are harder to get on day one.
If the before photographs are inconsistent, the comparison later means nothing. Same views, same settings, every time. If your photography still needs work, that is the first project. Our dental photography settings guide is a good place to begin.
A simple exercise to try with your own records:
- Decide your follow-up checkpoints and put them in the schedule, not in your head.
- Repeat the exact views you took at consultation and at insert.
- Put the photos side by side on one screen: before, temporaries, insert, follow-up.
- Write down one thing you would change. Just one.
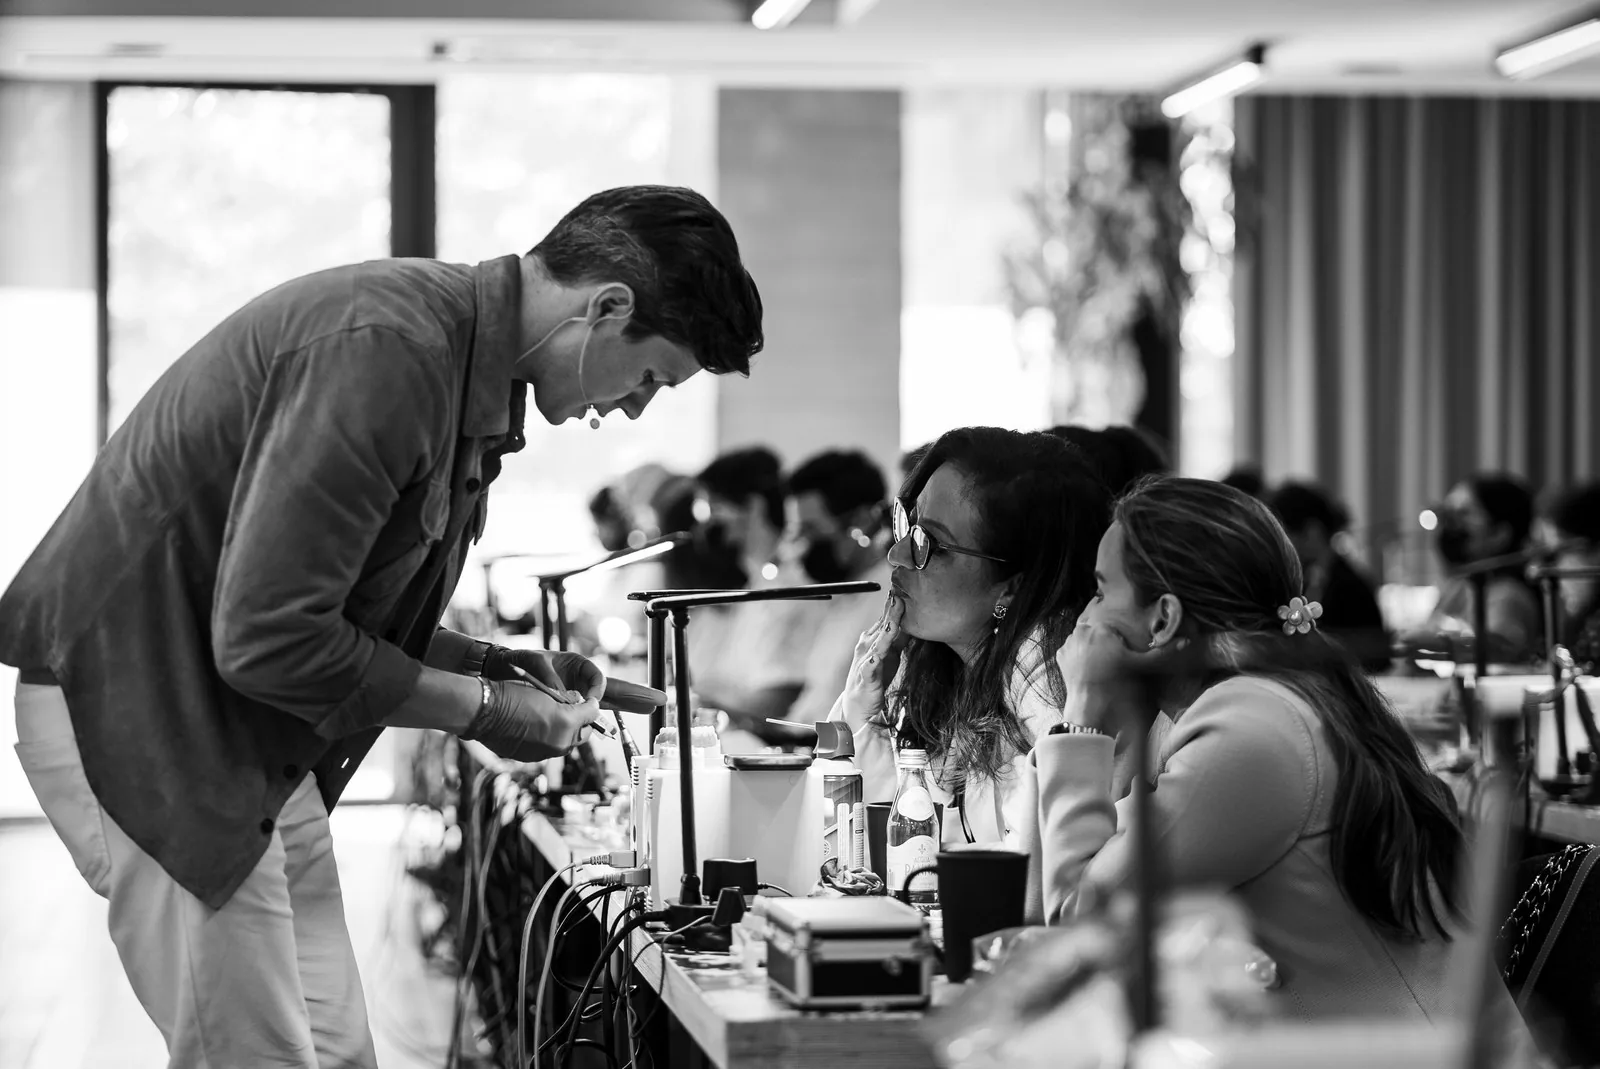
Questions to bring to a case review
The goal is not to prove that every decision was right.
It is to notice what the records can teach you.
Bring the questions you used in planning back to the review. Where was the incisal edge placed? How did the teeth sit in the face? What did you want to change, and what do the later photographs show?
Then ask what you would do differently now. Would a mock-up have helped clarify the design? Were the records complete? Which part of the technique would be useful to practice on a model?
That last one matters to me. You should not go into the patient's mouth and have it be the first time you are doing it. Practice on inexpensive digital models and have a game plan going in. Looking back at your cases tells you exactly what to practice next.
And sometimes, looking back is a gift.
It is incredible to see how long work can last when it is done right. The long-term archive gives us something a day-of-insert photograph cannot: a chance to see the work at different points in time.
The work changes how you think
When I was one to three years out, I was nervous as a practitioner. I did not have a lot of the answers, especially for patients who asked very intense questions.
As I did more cases and put my 10,000 hours in, my mindset around treatment changed. That experience changed how I approached difficult questions.
Courses are one part of learning. Experience in the chair is another. Reviewing the records is a practical way to connect what you were taught with the work you are doing now.
Putting material in a certain way, at a certain angle, to make it look a certain way is everything. It took me a long time to learn. But it can be learned.
Your own records are how you see that learning happen.
History is part of the record
A couple of years back, we had a fire in our office. We had to go through everything and throw a lot away.
In that cleanup I found a box of Polaroids from the dentist who built our practice. He would take Polaroids at the consultation and start drawing the smile design right on them. You can see the facial analysis. You can see the temporaries and how the changes were communicated.
Photographs have always been an important part of cosmetic dentistry.
The tools have changed, but the reason to keep the photographs has not. A record gives us something to return to. Without it, the chance to study that stage of the case is gone.
Do not review alone
The hardest part of looking back is being honest with yourself.
So bring someone in.
I have worked with my ceramist for well over ten years. When I have a question, I reach out and ask, what do you think here? When you are making decisions and you do not know, it matters to have people and resources you can ask.
Consider reviewing follow-up photographs with your ceramist or a mentor, within your practice's consent and privacy requirements. Ask a specific question. Another perspective can help you notice something you missed and give you a more useful next step than looking for general reassurance.
At Art of Ceramic, I tell our dentists I will hop on FaceTime to help set up their cameras. That is where it starts. The camera is the tool that makes all of this possible.
The takeaway
- Insert day is a checkpoint, not the finish line.
- Take consistent records so later comparisons mean something.
- Review your own cases at follow-up and write down one change.
- Share the follow-up with your ceramist and the people you learn with.
Related reading: dental team training for cosmetic dentistry and smile design photography.
Questions, answered.
What should I do after a cosmetic dentistry training course?
Start using the protocol on your own cases, and keep consistent photographs from consultation through follow-up. Reviewing those photographs later shows you what the course changed and what still needs work.
Why review case photographs after insert day?
Insert day only shows how the case looks that day. Follow-up photographs show how the tissue, shade and surface behave over time, which is where much of the learning is.
Which photographs should I take for case review?
Take the same full set of dental photos at consultation, in temporaries, at insert and at follow-up, with the same views and settings each time, so the images can be compared side by side.
Who should I review my cases with?
Your ceramist is a great place to start, along with a mentor or the dentists you trained with. An outside eye will see things you have stopped noticing in your own work.